13
14
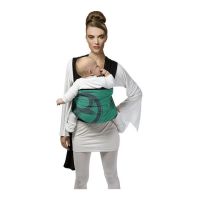
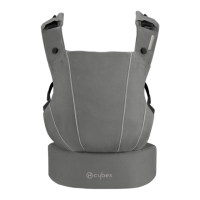
3. SITZPOSITION MIT GESICHT ZUM KÖRPER DES TRÄGERS (3 M +)
Ab einem gewissen Alter möchte das Kind mehr Bewegungsfreiheit und ein
größeres Sichtfeld. Dafü r eignet sich diese Trageposition hervorragend. Die
Spreiz-Anhock Stellung unterstü tzt zudem die Gelenke bei der Entwicklung
optimal.
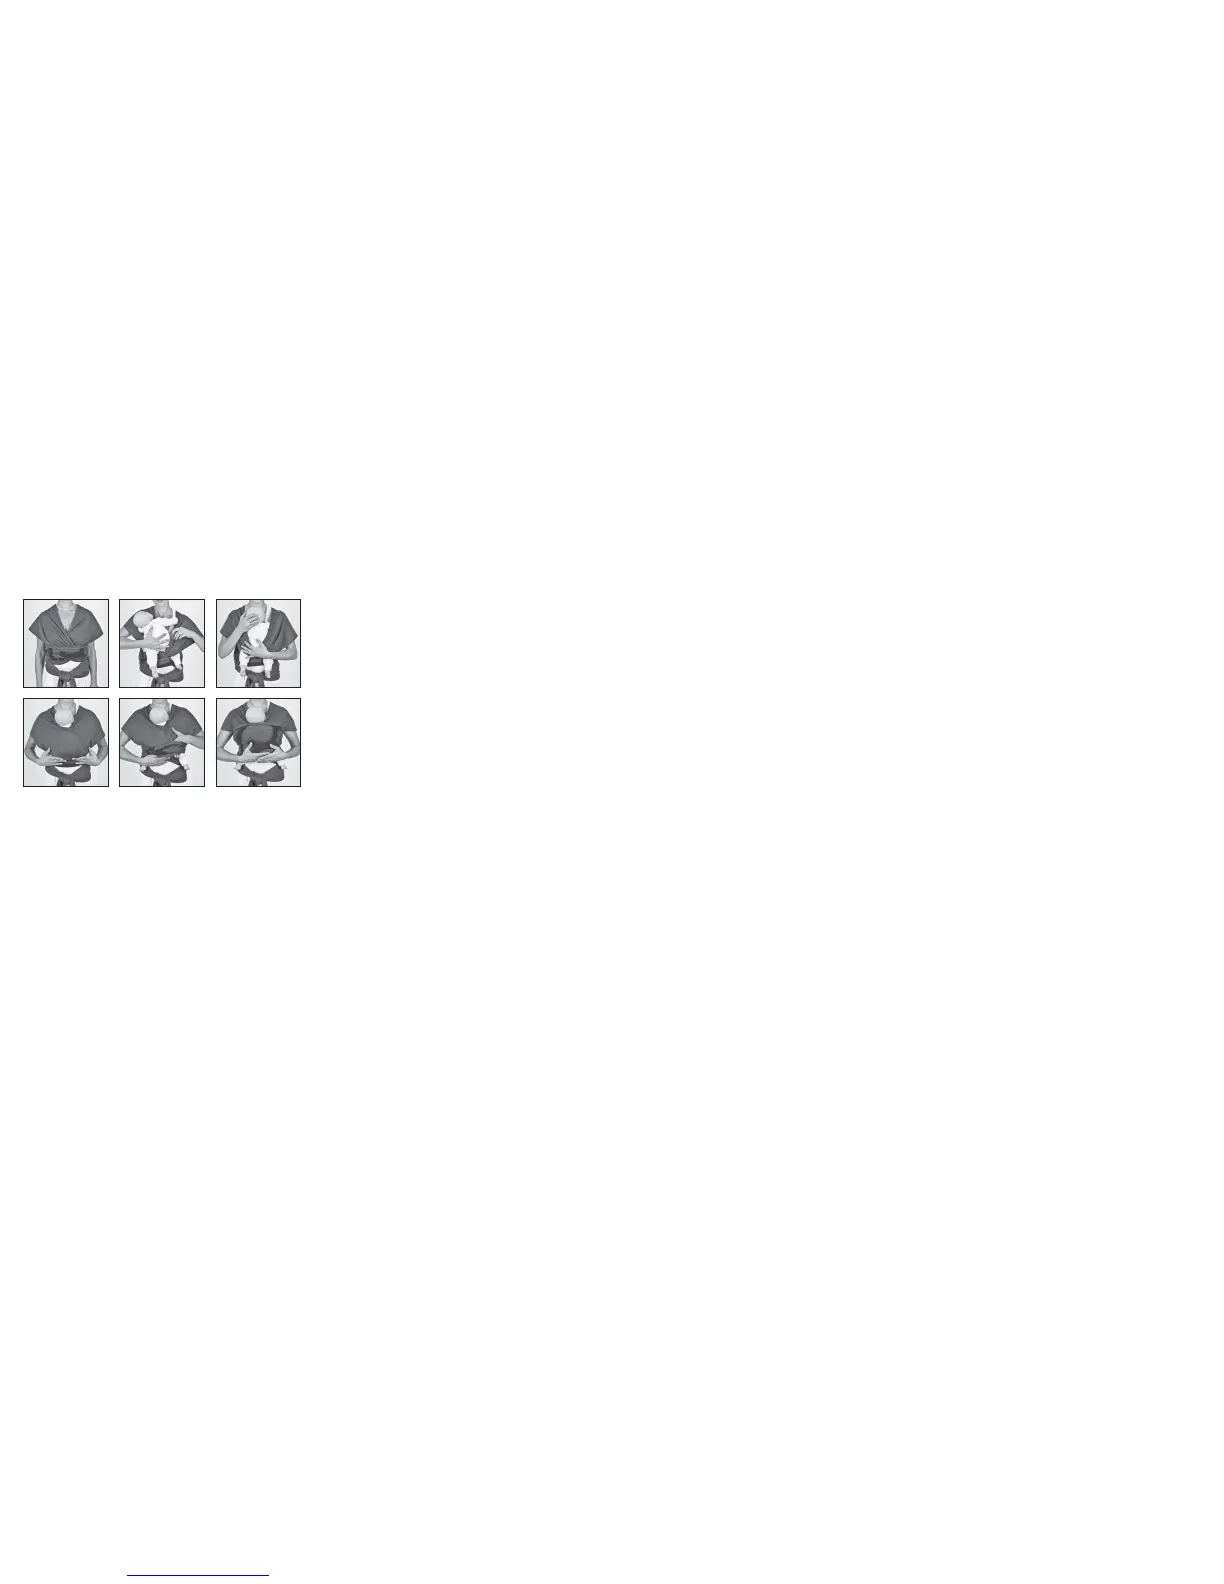
1. Folgen Sie den Grundschritten A-F.
2. Ziehen Sie das Baby zu sich an die rechte Schulter und fädeln Sie das
rechte Bein des Kindes in das linke Kreuzband.
3. Wiederholen Sie den Schritt mit der anderen Schulter und dem anderen
Bein des Kindes.
4. Breiten Sie erst das innere Kreuzband aus, dann das Äußere. Achten Sie
darauf, dass die Bänder von Kniekehle zu Kniekehle reichen.
HINWEIS: Eine optimale Spreiz Anhock Stellung ist nur gewährleistet, wenn das
Tuch von Kniekehle zu Kniekehle des Kindes reicht. Überprü fen Sie auch ab
und zu während des Tragens, ob Ihr Kind noch in der Spreiz Anhock Stellung
sitzt.
5-6. Ziehen Sie nun das Bauchband sanft ü ber die Beinchen des Babys.
Beginnen Sie mit der Seite, die Sie auch beim Kreuzband zuerst benutzt
haben. Ziehen Sie nun das Bauchband ü ber den Rü cken des Babys, um
es zusätzlich zu stü tzen.
Bei kleinen Kindern die den Kopf noch nicht selbstständig halten können
sollten Sie das Bauchband bis ü ber den Kopf des Babys ziehen um dessen
Nacken zu stü tzen.
HERAUSNEHMEN DES KINDES:
Öffnen Sie die Kreuzbänder ein wenig, um das Kind aus der Sitzposition zu
nehmen. Halten Sie das Kind zu jeder Zeit fest.
3. POSITION ASSISE FACE AU PORTEUR (DÈS 3 MOIS)
A partir d'un certain âge, votre bébé aura besoin d'une plus grande liberté
de mouvement, et d'une meilleure perspective sur le monde adulte. De plus,
la position "grenouille" est très bénéfi que pour le développement de ses
articulations.
1. Suivez les étapes du nœud de base de A à F.
2. Soulevez votre bébé en l'attirant sur votre épaule droite, et tirez la bande
de gauche sur la jambre droite de l'enfant.
3. Répétez l'opération avec la bande droite et la jambre droite de l'enfant.
4. Dénouez d'abord la bande intérieure, puis la bande extérieure. Assurez-
vous que l'écharpe soutienne bien les genoux du bébé à l'arrière.
Note: La position "grenouille" n'est bénéfi que que si l'écharpe est bien placée
sous les genoux du bébé. Vérifi ez régulièrement pendant le portage que la
position "grenouille" du bébé soit correcte.
5-6. Placez doucement les deux côtés de la bande ventrale par-dessus les
jambes de votre bébé. Commencez par le côté que vous avez utilisé en
premier en tirant les pans. Placez la bande ventrale sur le dos du bébé
pour lui donner plus d'appui.
Si votre bébé ne peut pas encore soutenir sa tête seul, faites remonter la
bande ventrale jusqu'à la base de son cou.
SORTIR L'ENFANT DE L'ÉCHARPE:
Ouvrez doucement la bande ventrale pour dégager l'enfant de la position
assise. Tenez bien l'enfant en permanence.
3. SITTING POSITION FACING THE CARRYING PERSON (3 M +)
At a certain age your child wants more freedom of movement and a better
view. Additionally, the spread-squat position is benefi cial for a healthy
development of the joints.
1. Follow the basic steps A-F.
2. Pick the baby up pulling it to your right shoulder and pull the left cross
band over the right leg of the child.
3. Repeat this step with the other shoulder and the child’s other leg.
4. First unfold the inner cross band then the outer one. Please make sure
that the sling goes from the back of one knee to the other.
Note: A spread-squat seat is only benefi ciary when the sling reaches from the
back of one knee to the other. While carrying please regularly check that the
baby sits in the desired spread-squat seat.
5-6. Pull both sides of the belly band gently over the legs of the child. Start with
the side that you used fi rst when pulling up the cross bands. Pull the belly
band over the back of the child to provide additional support.
For small children that are not able to hold their head independently, please
pull the belly band over the babys head in order to support its head.
TAKING OUT THE CHILD:
Open the cross band slightly to take the child out of the sitting position. Hold
on to the child at all times.
123
456
 Loading...