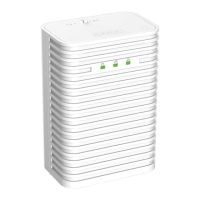
DHP-W312AV
3
ENGLISH
PRODUCT SETUP
HARDWARE INSTALLATION AND CONNECTION
Step 1:
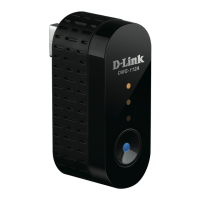
Ensure that an existing Powerline product has been
connected to your router and setup completed.
Step 2:
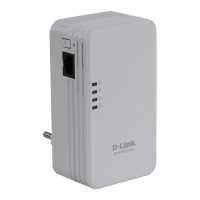
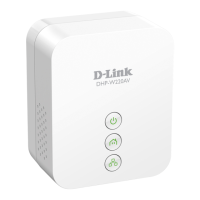
Plug the DHP-W312AV into a wall outlet where you want
to extend your network and connect it to a computer via
Ethernet cable (for the setup wizard).
Step 3:
Press the Simple Connect button on the existing Powerline
AV device for 3 seconds. Then, within two minutes, press
the WPS (Simple Connect) button on the DHP-W312AV
for 3 seconds. The Powerline devices will then reboot.
USING THE SETUP WIZARD
Step 1:
To access the confi guration utility, open a web browser such as Internet Explorer and either enter the
address written on the Wi-Fi Confi guration Card or one of the following in the address fi eld:
http://dlinkap.local.
or
http://192.168.0.50
Step 2:
By default,
Admin
will be the User Name. Leave the password blank.
Pre-existing Powerline
device
ROOM A
RouterInternet
DHP-W312AV
(Not included)
ROOM B
Note:
Network connectivity is confi rmed when the Powerline LEDs indicators on both Powerline
devices are steadily lit. This will indicate that your network is now secure.
 Loading...