ENGLISH
7
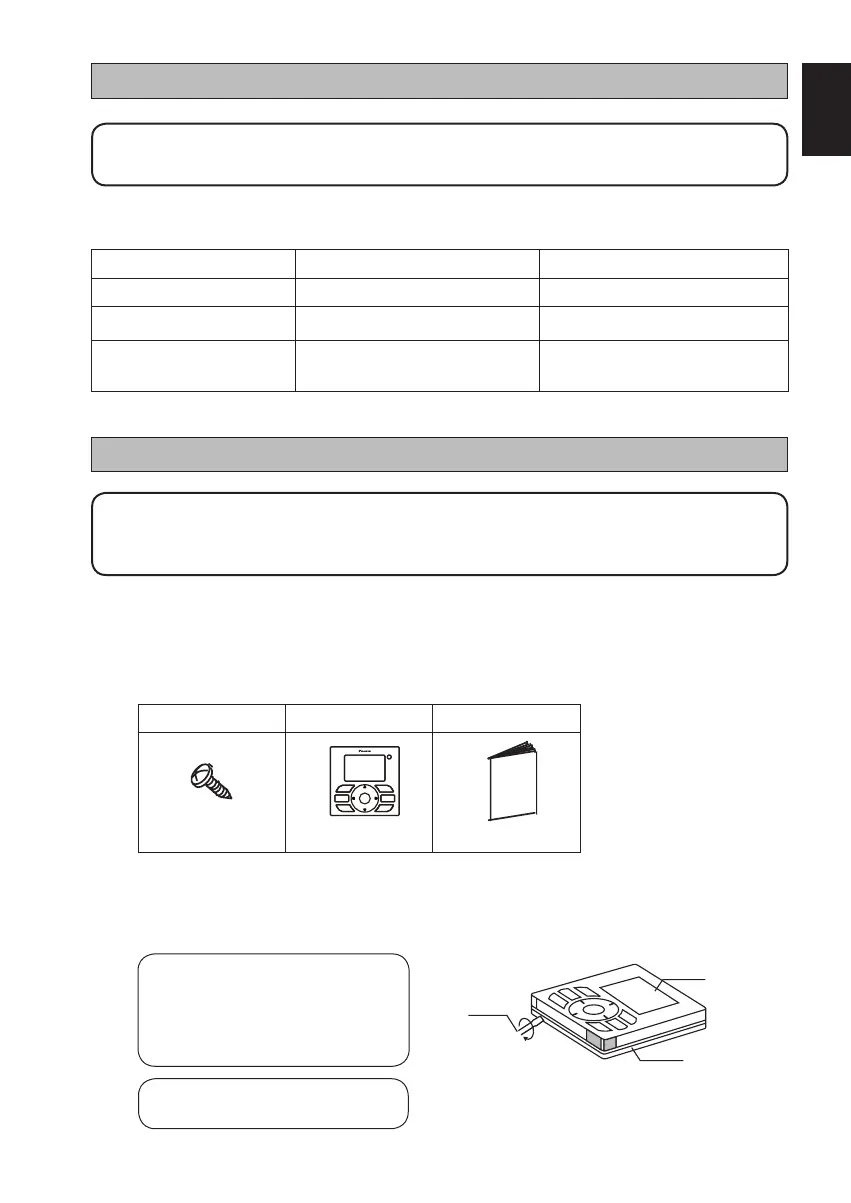
1. Accessories
The following accessories are included together with this manual. If any part is missing, contact
your dealer immediately.
1.1 Remote controller
1.2 Screw (2 pieces)
1.3 Operational manual
Screw Handset Operation Manual
(2pcs.) (1pcs.) (1pcs.)
2. Step-by-step guide
2.1 Remove upper case.
Insert a screwdriver in the recess of lower case to remove the upper case (2 points).
Remote controller printed-circuit
board is installed on the upper case.
Be careful not to damage the printed-
circuit board with the screwdriver.
Screwdriver
Lower case
Upper case
Be careful not to let dust or moisture
touch the printed-circuit board.
Insert and twist the screwdriver
'LIGHTLY' for removal.
INSTALLATION
! NOTE
Installation and maintenance should be performed by qualifi ed persons who are familiar with
local code and regulation, and experienced with this type of appliance.
The wired handset has 3 jumpers option to control the board function.
Table 2.0: Summary of Hardware Settings
OPTION With Jumper Without Jumper
SET TEMP. RANGE
Set Temperature : 20°C - 30°C Set Temperature : 16°C - 30°C
* TURBO_QUIET
Deactivate Turbo & Quiet Feature
Activate Turbo & Quiet Feature
ROOM TEMPERATURE
Deactivate Room Temperature
Display
Activate Room Temperature
Display
* Note: Turbo & Quiet Feature only applicable to specific model.
HARDWARE SETTING
! NOTE
Hardware setting should be performed by installers or technicians.–
1-OM-BRC51D-0616(2)-DAIKIN-EN.in7 71-OM-BRC51D-0616(2)-DAIKIN-EN.in7 7 8/12/20 3:41:43 PM8/12/20 3:41:43 PM
 Loading...