3 | Components
Service manual
154
EBLA09~16DA + EDLA09~16DA
Daikin Altherma 3 M
ESIE20-06A – 2021.03
2 Remove the expansion valve coil from the spare part expansion valve body.
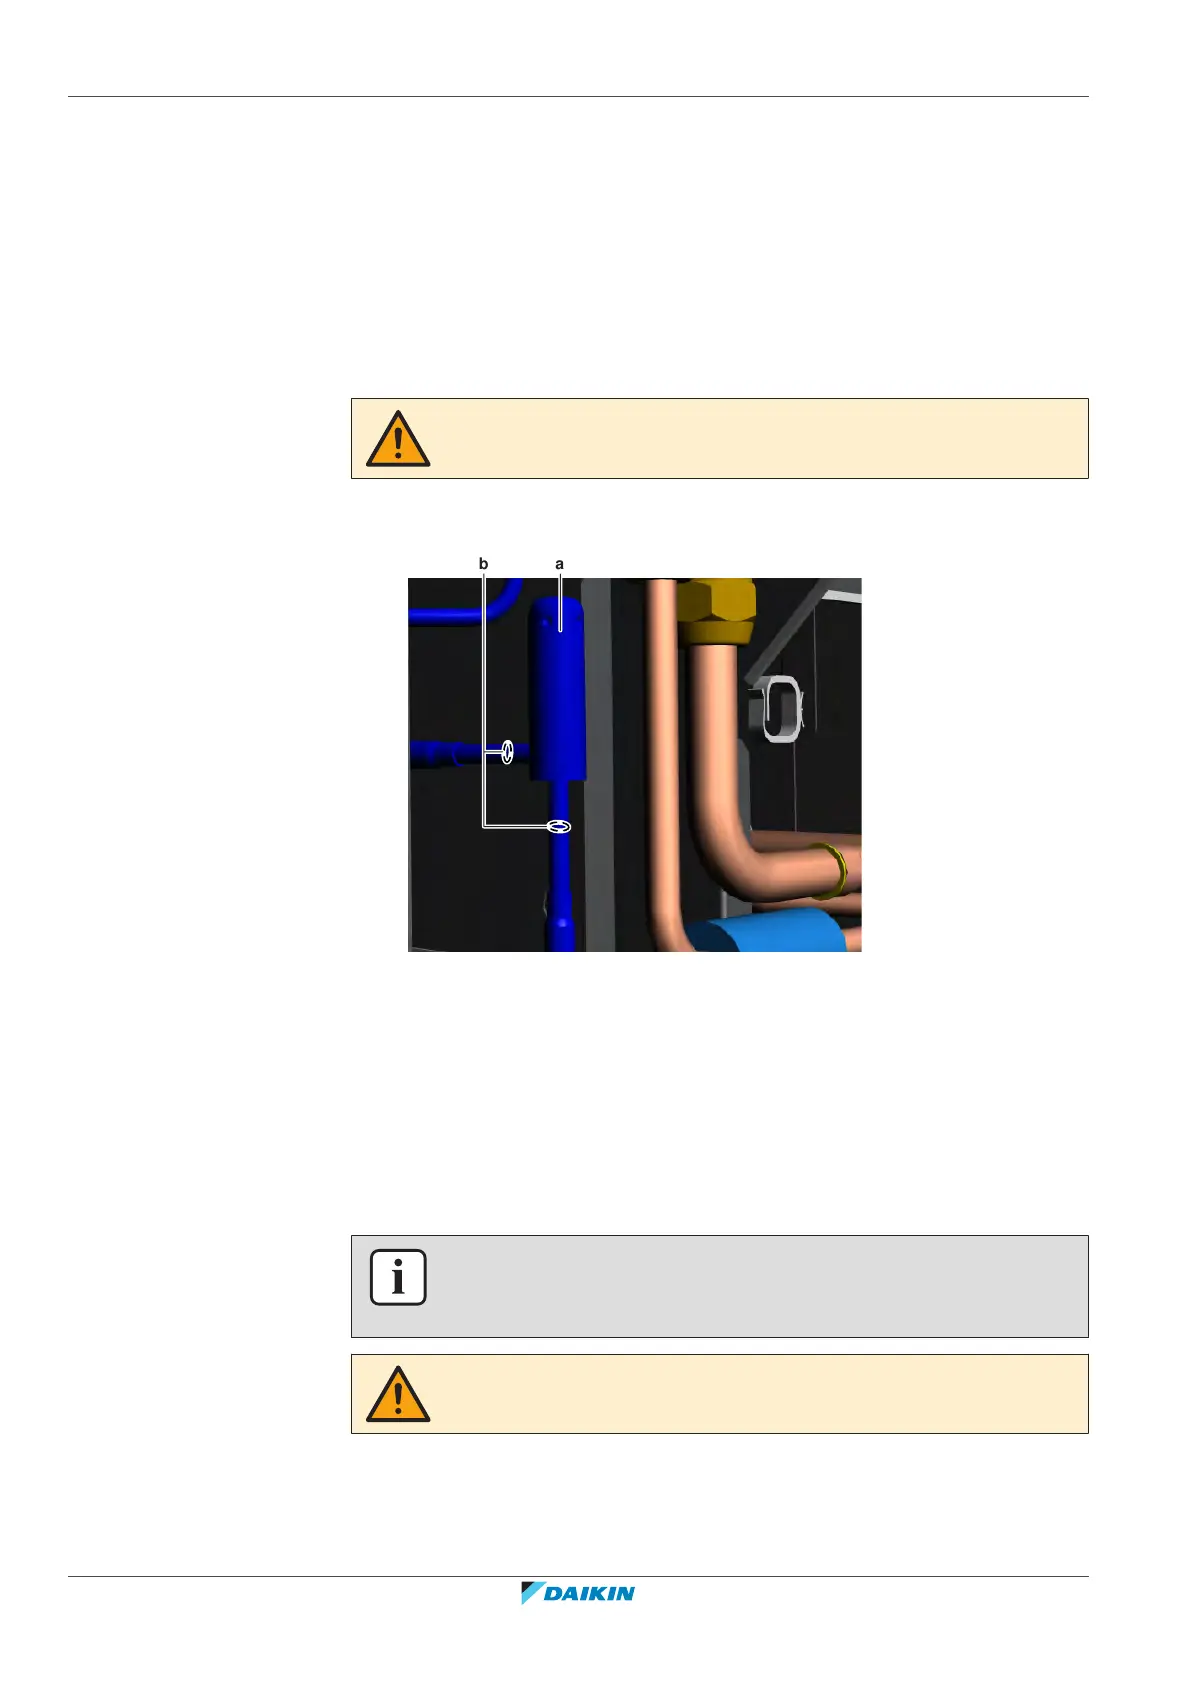
3 Install the expansion valve body in the correct location and correctly oriented.
Insert the pipe ends in the pipe expansions.
4 Open the expansion valve using a valve magnet.
5 Supply nitrogen to the refrigerant circuit. The nitrogen pressure MUST NOT
exceed 0.02MPa.
6 Wrap a wet rag around the expansion valve body and any other components
near the expansion valve and solder the expansion valve pipes to the
refrigerant pipes.
CAUTION
Overheating the valve will damage or destroy it.
7 After soldering is done, stop the nitrogen supply after the component has
cooled‑down.
a Expansion valve body
b Expansion valve pipe
8 To install the expansion valve coil, see "3.9.2Repair procedures"[4152].
9 Perform a pressure test, see "4.2.1Checking procedures"[4286].
10 Add refrigerant to the refrigerant circuit, see "4.2.2 Repair
procedures"[4291].
To install the expansion valve coil with bracket
1 Install the expansion valve coil on the expansion valve body.
INFORMATION
The expansion valve coil is equipped with a metal bracket. Fit the nipples of the
metal bracket into the notches of the expansion valve body.
CAUTION
Make sure to install the expansion valve coil in the correct position (orientation).