6 | Unit installation
Installer reference guide
25
CTXA-C(W)(B)(S) + FTXA-C(W)(B)(S)
Daikin room air conditioner
4P518023-15P – 2023.05
a Arm
b Shaft
c Shaft slot
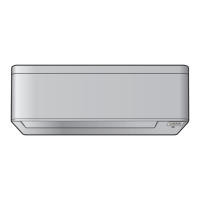
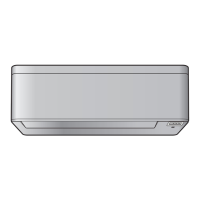
4 Disconnect the front panel shaft from the shaft slot on the left side.
a Arm
b Shaft slot
c Shaft
5 Remove the front panel.
6 To re-install the front panel perform the steps in the opposite order.
6.2.3 To open the service cover
1 Remove 1 screw from the service cover.
2 Pull out the service cover horizontally away from the unit.
a Service cover screw
b Service cover
NOTICE
When closing the service cover, make sure that the tightening torque does NOT
exceed 1.4(±0.2)N•m.
6.2.4 To remove the front grille
CAUTION
Wear adequate personal protective equipment (protective gloves, safety glasses,…)
when installing, maintaining or servicing the system.
1 Open the front panel. Refer to "6.2.1To open the front panel"[424].
2 Remove the service cover. Refer to "6.2.3To open the service cover"[425].
3 Remove the wire harness from the wire clamp and the connector.
4 Remove the flap by pushing it to the left side and towards you.
5 Remove the 2 screw covers using a long flat plate such as a ruler wrapped in a
cloth and remove 2 screws.
 Loading...


