4 | Components
Service manual
52
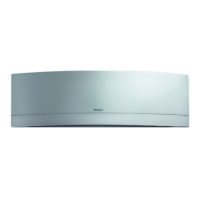
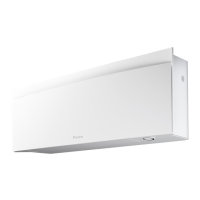
RXJ20~50A + FTXJ-A(W)(S)(B)
Split Emura 3 R32
ESIE22-04 – 2022.04
a Electrical power supply wiring
b Wire terminals
c Screws
d Wire clamp
e Screws
f Right side plate assembly
3 Connect the electrical power supply wiring to the wire terminals.
4 Install the wire clamp and fix it using the screws.
5 Connect all connectors to the main PCB.
INFORMATION
Use the wiring diagram and connection diagram for correct installation of the
connectors, see "7.2Wiring diagram"[478].
WARNING
When reconnecting a connector to the PCB, make sure to connect it on the correct
location and do NOT apply force, as this may damage the connector or connector
pins of the PCB.
6 Fix the wiring to the switch box using a new cable tie.
draft–22/04/2022 08:50

 Loading...
