6 | Unit installation
Installer reference guide
26
FTXJ-A(W)(S)(B)
Daikin room air conditioner
4P518023-12K – 2022.05
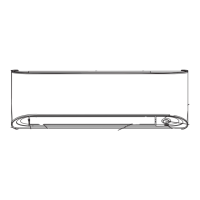
6.2.4 To remove the front grille
CAUTION
Wear adequate personal protective equipment (protective gloves, safety glasses,…)
when installing, maintaining or servicing the system.
1 Open the front panel. Refer to "6.2.1To open the front panel"[424].
2 Remove the service cover. Refer to "6.2.3To open the service cover"[425].
3 Remove the wire harness from the wire clamp, disconnect the connector and
place it in the connector holder.
4 Position the flap carefully by hand, so it does not to get caught during front
grille removal.
5 If already installed, remove the 2 screw covers using a long flat plate such as a
ruler wrapped in a cloth and remove 2 screws.
a Connector
b Wire clamp
6 Push the front grille up and then towards the mounting plate to remove the
front grille from the 3 hooks.
a Hook
Prerequisite: If working space is limited.
7 Slide the flat screwdriver in the direction of triangle on the rib into the half-
moon shaped dent on the grille.
a Triangle symbol
8 Slightly press down the front grille and insert the screwdriver in slot next to
the hooks.
 Loading...