Do you have a question about the Daikin FTXM20R5V1B and is the answer not in the manual?
Thank you for purchasing this product. Please keep the documentation for future reference.
If you are not sure how to operate the unit, contact your installer.
Safety instructions that you must read before operating your system.
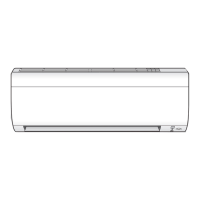
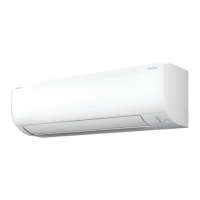
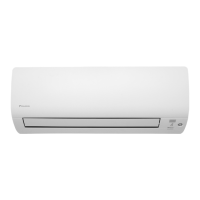
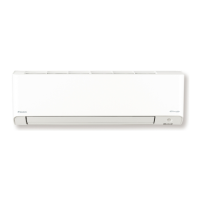
Information related to the indoor unit, including warnings and notices.
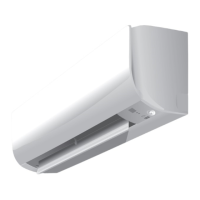
Description of the indoor unit's display elements and their functions.
Details about the user interface, including its components and operation.
Identification and description of each component of the user interface.
Instructions for inserting batteries into the user interface for power.
Steps to attach the user interface holder to the wall.
Instructions on how to set the current time and day of the week.
Guide to adjust the brightness level of the indoor unit display.
Procedure to turn on the main power supply to the unit.
Defines the temperature and humidity ranges for safe and effective operation.
How to select operation modes and set the desired temperature for the unit.
Step-by-step guide to start/stop operation and adjust temperature settings.
Information on selecting and adjusting the airflow rate for the unit.
Instructions for changing the airflow rate settings.
How to adjust the direction of airflow using flaps and louvers.
Steps to control the vertical movement of the flaps for airflow direction.
Instructions for adjusting the horizontal louvers for airflow direction.
Guide to activate and use the 3-D airflow direction feature.
Using Comfort airflow and Intelligent eye features for enhanced comfort.
Details on how to activate and use the Comfort airflow mode.
Explanation of the Intelligent eye sensor and its functions for energy saving.
How to activate or deactivate Comfort and Intelligent eye operations.
Maximizing cooling/heating effect with the Powerful operation mode.
Steps to start and stop the Powerful operation mode.
Using Econo and Outdoor unit quiet operations for efficiency and noise reduction.
Instructions for activating Econo operation to limit maximum power consumption.
Guide to reducing the noise level of the outdoor unit.
How to activate or deactivate Econo and Outdoor unit quiet operations.
Information about the Flash Streamer function for air cleaning.
Steps to activate and deactivate the Flash Streamer air cleaning function.
Using timer functions for automatic start and stop operations.
Instructions for setting and cancelling the OFF timer.
Steps to set and cancel the ON timer for automatic operation.
How to use both OFF and ON timers simultaneously.
Setting up to 4 timer settings for each day of the week.
Guide to set the Weekly timer, including day, mode, and time.
How to copy existing timer reservations to other days.
Procedure to check the set weekly timer reservations.
Steps to temporarily disable and re-enable the Weekly timer.
Instructions for deleting single or all weekly timer reservations.
Connecting the unit to a wireless LAN for remote control.
Important safety precautions when operating the wireless LAN feature.
Steps to download and install the dedicated mobile application.
Guide to configure the wireless connection between the unit and your smart device.
General information on maintenance tasks and frequency.
Instructions for cleaning the indoor unit and its user interface.
Steps to clean the front panel of the indoor unit.
Procedure for safely removing the front panel of the indoor unit.
Detailed instructions for cleaning the air filters of the unit.
Instructions for cleaning specific filters: titanium apatite and silver allergen removal.
Procedure for replacing the titanium apatite and silver allergen removal air purifying filters.
Steps for correctly re-installing the front panel after maintenance.
| Category | Air Conditioner |
|---|---|
| Model | FTXM20R5V1B |
| Cooling Capacity | 2.0 kW |
| Heating Capacity | 2.5 kW |
| Refrigerant | R32 |
| Seasonal Energy Efficiency Ratio (SEER) | 6.1 |
| Noise Level (Outdoor Unit) | 46 dB(A) |
| Indoor Unit Weight | 9 kg |
| Type | Split |
| Power Supply | 220-240V, 50Hz |
| Noise Level (Indoor Unit) | 19 dB(A) |