Square holes on front panel
1.After inserting the 6 outlet grille tabs into the 6 square noles of the front panel,
lower the outlet grille unitil the stroke end. (Reversing the order of step 1 )
2.Install the outlet grille on the front panel using the 4 screws removed in step 1
At this time, check that the 6 outlet grille tabs do not come off.
Install the air direction adjustment grille ( )
on the front panel
Finished air direction adjustment grille
installation
(installation of upward outlet grille)
Install the spacer ( ) on the air direction adjustment grille
Install the outlet grille.
5
1
1.Temporarily fix the spacer ( ) to the end of the screw fixing
section of the air direction adjustment grille ( ) using
double-sided tape while aligning the center of each part's hole.
(At 4 positions)
Be careful that the spacer ( ) does not come off before it is fixed
to the front panel with screws.
1.Remove the 4 outlet grille fixing screws.
2.After lifting the outlet grille, move it forward to
remove it from the front panel.
1
3
4
56
2
Remove the outlet grille. Attach the seal ( ) to the
front panel
Square outlet grille whose thickness is 3/4” (20mm)
1.Install the air direction adjustment grille ( )
with the spacers ( ) attached on the front panel using
4 screws ( ). The prepared hole of the front panel is
located between the lattice of the outlet grille and
approx. 5/8” (17mm) inside from the outlet grille surface.
(4 positions)
Attach the seal ( ) while aligning
its right side with the left side
of the groove as shown in the
picture. This prevents airflow from
coming out from the side. The seal ( )
is not necessary when installing the
outlet grille on the right.
2
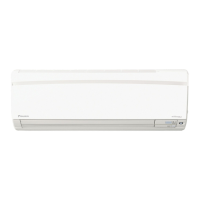
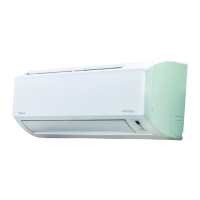
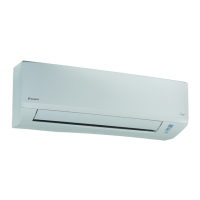
Outlet grille
Front panel
Outlet grille
fixing screw
5
5
5
2
1
5
1
1
4
4
4
4

 Loading...