EDUS39-900-F10 Installation
FXMQ-MF 21
Bolt Pitch
Preparations Before Installation
1. Relative positions of the unit and suspension bolt. (Refer to Fig. 2)
Fig. 2
(length: in.)
45-3/16
43-5/16
Suspension bolt (×4)
Air inletAir outlet
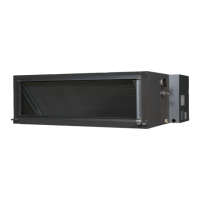
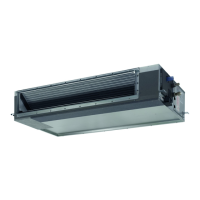
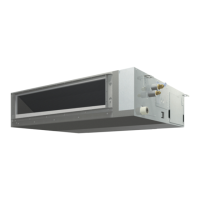
Outdoor-air
processing unit
44 or more
26 or more
(Service space)
(Service space)
Inspection hatch
23-5/8
Unit
FXMQ48MFVJU
FXMQ72·96MFVJU
29-9/32
50-3/8
27
51
Approx. 5-7/8
2. Install a canvas duct to the air outlet and air inlet so that
vibration from the unit isn’t transmitted to the duct or ceiling.
You should also apply acoustic (insulation material) to the
inside of the duct, and vibration insulation rubber to the
suspension bolts.
3. Open the installation hole. (Pre-set ceilings)
Once the installation hole is opened in the ceiling where the
unit is to be installed, pass refrigerant and drain pipe and the
power supply, transmission, and remote controller wire to the
unit’s pipe and wire connection ports.
After opening the ceiling hole, it might be necessary to
reinforce the ceiling frame to prevent shaking or to maintain
the levelness of the ceiling.
Consult an architect or carpenter for details.
4. Install suspension bolts.
(Use bolts of 3/8in. diameter.)
Install the unit where supporting structures are strong
enough to bear the unit’s weight. Use embedded inserts or
anchor bolts with new buildings and hole-in-anchors with old
buildings. Adjust the distance to the ceiling beforehand.
Anchor
Long nut or turn-buckle
Installation example
Note) All the above parts are field supplied.
Suspension bolt
Ceiling slab
Outdoor-air processing unit
Fig. 3
 Loading...