Auto-Timer Instructions
NOTE: Auto-Timed programs cannot be set with the
hand held remote control.
The
TIME OF DA
Y
CLOCK must be set before the AUTO-TIMER
feature will operate.
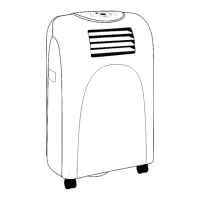
The AUTO-TIMER feature offers a unique selection
of multiple choice, fully automatic on/off (start/stop)
programs between 0 - 23 hrs, 50 min. under any one
mode of your Portable 4 Season Home Comfort unit.
The programs are as follows:
a)
Auto -Off: Pre-select a time that will turn off the
unit (automatically) at a specified time (between
0 - 23 hrs, 50 min.). This function must be
performed daily, (if required) as the program is
automatically canceled/erased upon completion.
b)
Auto-On: Pre-select a time that will turn on the
unit (atomatically) at a specified time (between
0 - 23 hrs, 50 min.). This function must be
performed daily, (if required) as the program is
automatically canceled/erased upon completion.
c) Auto-On & Auto-Off: Pre-select a time that will
turn on and turn off the unit (automatically) at
specified times (between 0 - 23 hrs, 50 min.).
This program contains built-in memory. Unlike
programs a) and b) above. This program
automatically stores into memory the selected
times and will repeat daily, (same specified times)
until the program is overridden and/or canceled.
Any interruption to the electrical power supply
of the unit automatically cancels/erases all
auto timed programs. In the event this should
happen, you will be required to re-set
your program.
Setting the AUTO-ON TIMER
Before setting the AUTO-ON timer, the TIME OF
DAY CLOCK
must be set/operational. You must
also select the appropriate MODE and settings (FAN
SPEED, TEMP, SWING etc.) you will require under
the AUT
O TIMED
program.
1)
T
urn the unit
“on” (I/O switch).
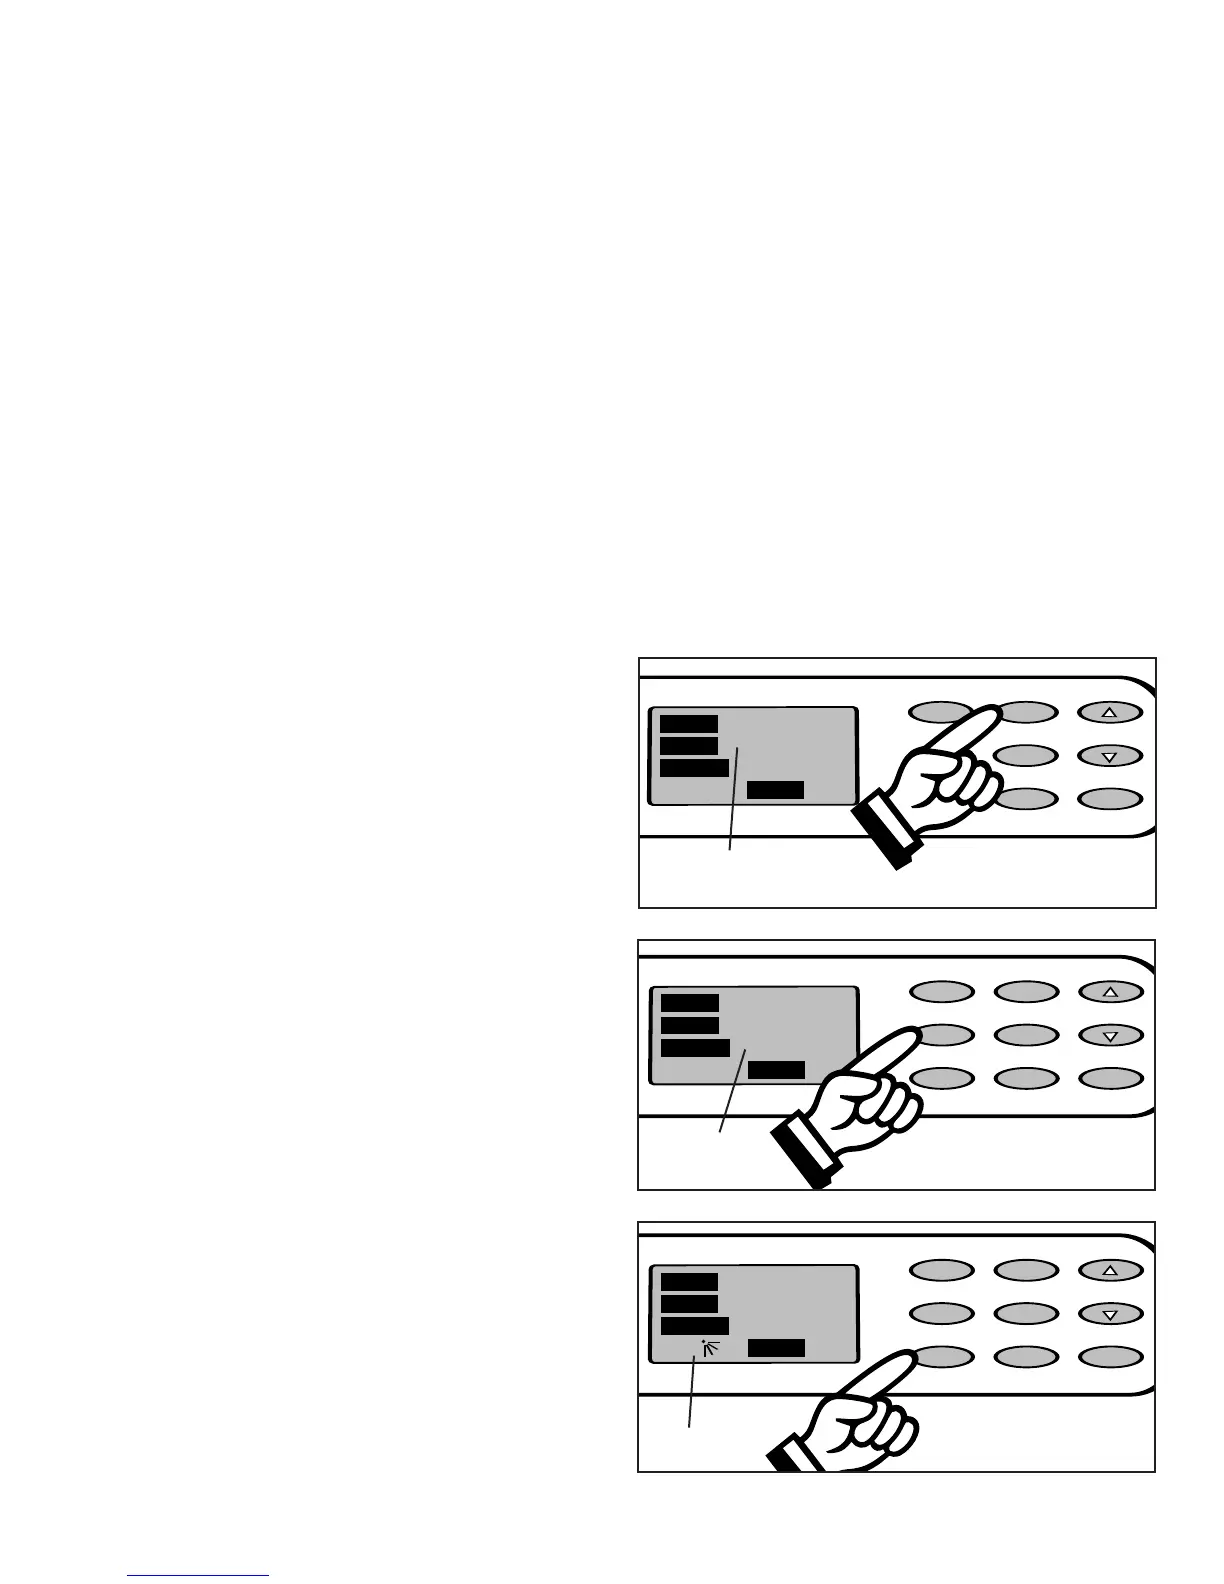
2) Select the appropriate MODE under which
you want the unit to operate (Cool-Dry-Heat-
Fan). Fig. 29.
3) Select the appropriate FAN SPEED setting,
under which you want the unit to operate. (Hi,
Med, Low) (excluding Dehumidifying, as this
mode has “1” fan speed setting only)
. Fig. 30.
4)
If you desire
oscillation (auto-swing) push the
SWING key pad (the “air swing” symbol will be
displayed in the display window). Fig. 31.
15
Water Full
C
ool/Heat/Dry
I/O MODE
SWING TIMER
CLOCK
FAN
12:00
T
IMER
TEMP.
O
N
M
ODE COOL
FAN SPEED HIGH
00
ON
O
FF
T
EMP./CLOCK
A
DJ.
Fig. 29
Water Full
Cool/Heat/Dry
I/O MODE
SWING
TIMER
CLOCK
FAN
12:00
TIMER
TEMP.
ON
MODE COOL
FAN SPEED HIGH
00
ON
OFF
T
EMP./CLOCK
ADJ.
Fig. 30
Water Full
Cool/Heat/Dry
I/O MODE
SWING
TIMER
CLOCK
FAN
12:00
TIMER
TEMP.SWING
ON
MODE COOL
FAN SPEED HIGH
00
ON
OFF
TEMP./CLOCK
ADJ.
Fig. 31
Air Swing
Mode
Selection
Fan Speed