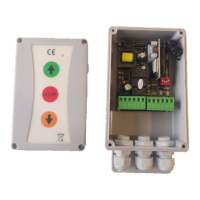
NOTA:
-Alimentación de accesorios (bornes 12V DC and COMUN):
conectar para alimentar con corriente continua 12V a fotocélula.
-Pulsador Abrir/Cerrar: conectar 12V y Abrir/Cerrar, según se desee.
-Dispositivos de seguridad: conectar la señal de retorno del
dispositivo a la placa entre el borne de COMÚN y IN.
-Pulsador paso a paso: conectar entre 12V y pulsador.
-Lampara: para conectar una lampara debe conectarse en los
bornes N-LAMP
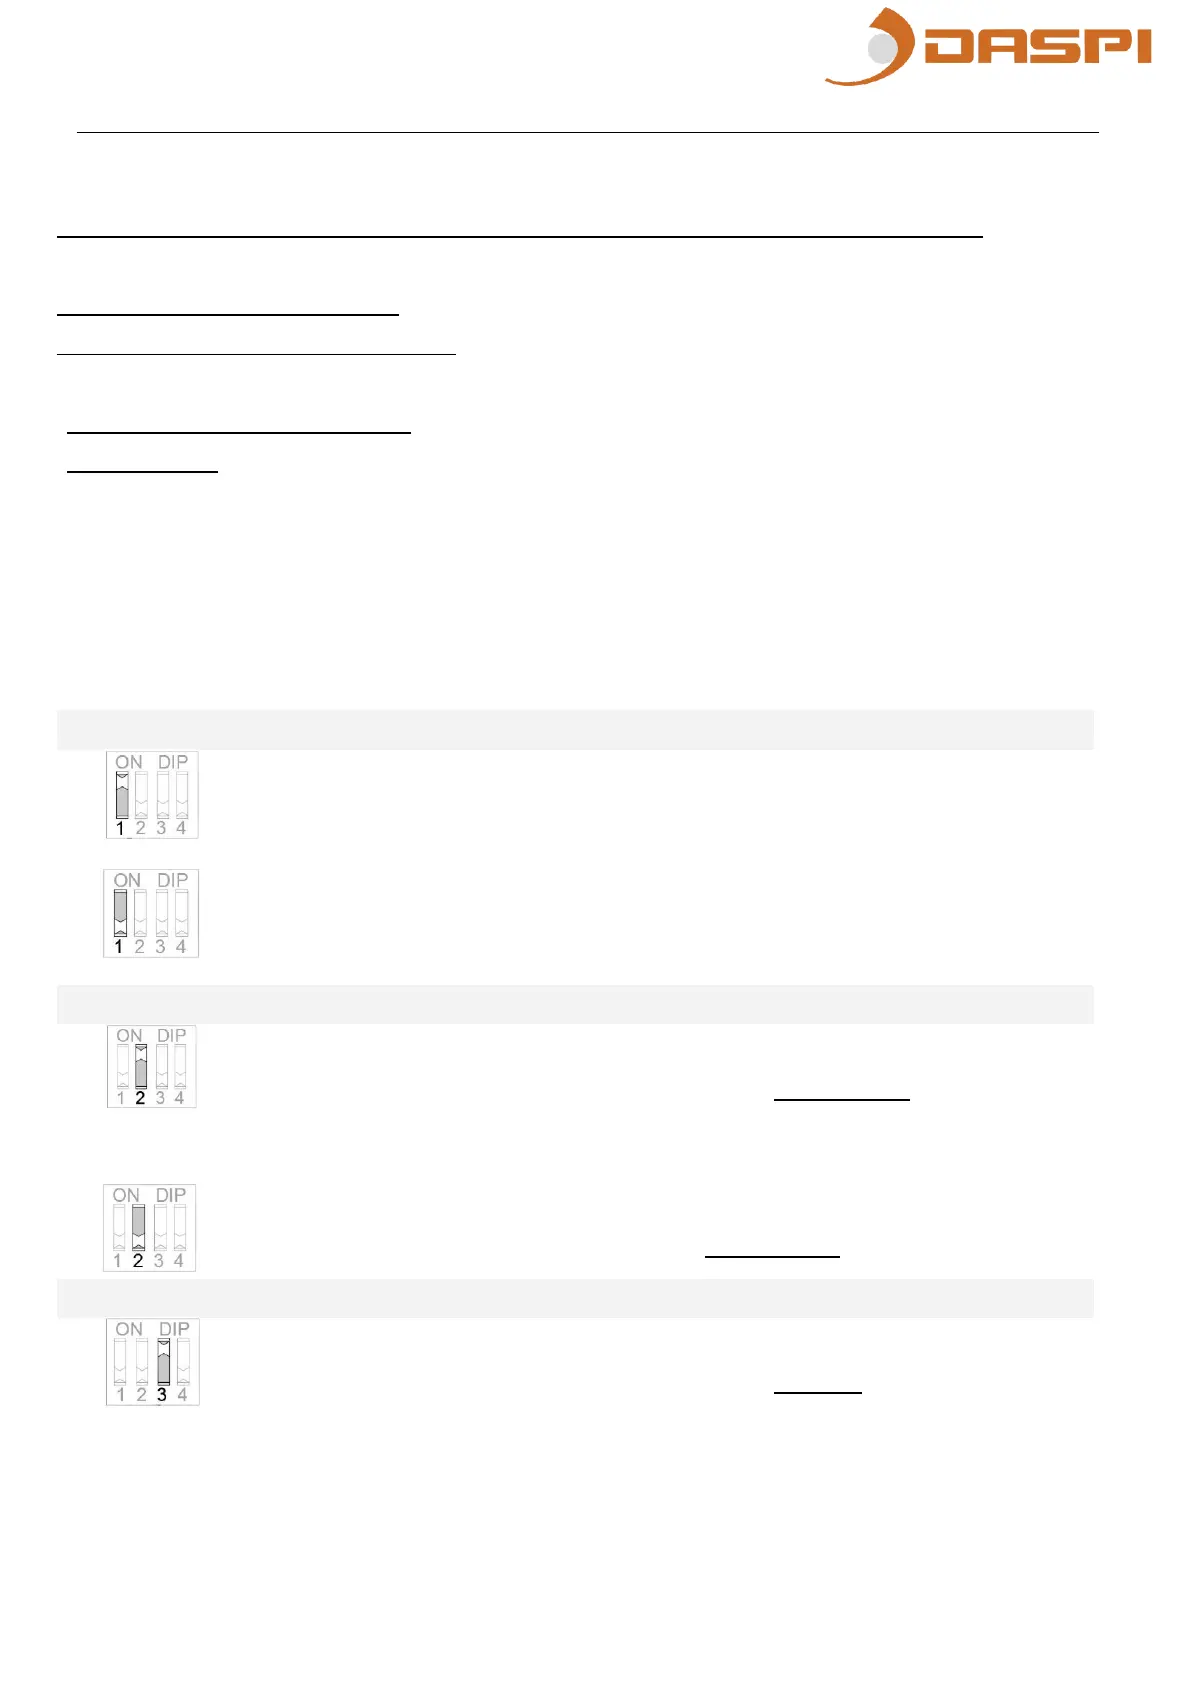
CONFIGURACIÓN DIP
ON Funcionamiento normal, finales de carrera en el
motor. No están cableados a la placa.
OFF Finales de carrera (en bornes Común, Apertura
y Cierre).
2 HOMBRE PRESENTE EN APERTURA (DIP 1 ON)
ON Para realizar la maniobra de apertura es
necesario mantener pulsado el emisor o pulsador
PROG. Si no se mantiene, la maniobra se detiene.
OFFOrden directa durante laapertura.
3 HOMBRE PRESENTE EN CIERRE (DIP1 ON)
ON Para realizar la maniobra de cierre es necesario
mantener pulsado el emisor o el pulsador PROG. Si
no se mantiene, la maniobra se detiene.
 Loading...