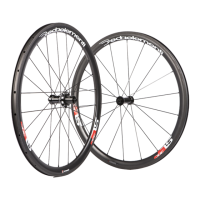
SPROCKETS INSTALLATION
Deda Elementi wheels are available with Shimano®
/ Sram® 10-11 speed cassette and Campagnolo®
10-11 speed cassette. Read and carefully follow the
installationinstructionsofthesprockets.
The rear wheel with Shimano® freehub body is
supplied with a 1.80mm aluminum spacer that is
intended to be used with Shimano® /Sram® 10
speed cassette only . Please don’t use 1.80mm spacer
with 11 speed cassette.
WARNING: Since specific tools and experience are
necessaryforpropersprocketsinstallation,incaseof
doubts it is recommended that the product be installed
by an official Deda Elementi dealer or a qualified
bicycle technician. An incorrect sprockets installation
can cause serious accidents and injury for the user.
WARNING: Please make sure that wheel freehub
body be compatible with your sprockets cassette
before proceed with the assembly. Failure to insure
compatibility between wheel and sprockets cassette
can cause malfunction of the bicycle drive train
resulting in serious accident and injury for the user.
WHEELS INSTALLATION INSTRUCTIONS
• Insertthequickreleaseintohubsothattheleverbe
on the non drive side of the wheel and tighten the
quickreleasenutslightlyontheoppositesideofthe
lever.(Note:frontquickreleaseisshorterthanrear)
• Installthefrontandrearwheelrespectivelyintothe
forkandframedrop-outs.
• Tightenthequickreleasenutuntillisincontactwith
theforkorframedrop-outs.
• ClosethequickreleaseleverfromtheOpentothe
Closed position; if necessary adjust the closing
force manually through the nut (tightening the force
increases,untighteningtheforcedecreases)(Fig.2).
WARNING: Since specific experience is necessary
for proper wheels installation, in case of doubts it is
recommended that the product be installed by an
official Deda Elementi dealer or a qualified bicycle
technician. An incorrect wheels installation can cause
serious accidents and injury for the user.
WARNING:Whileadjustingtheclosingforcemanually,
pleasemakesuredonottightenoruntightenthenut
too much. A ½ turn of rotation can result in the non
closing of the wheel or excessive closing force of the
wheel. The improper adjusting of the wheel closing
can cause serious accidents and injury for the user.
• Whentheleverisclosed,makesureitiscompletly
closed(fulltravel)anddonotallowtheframeorfork
toinhibitthecompleteclosingofthelever(Fig.3).
• Check before every ride the closing force of the
wheelandcorrectmechanismfunctioningofquick
releases.
WARNING:Aftercleaningthebicycleorarideinrain
conditions, please lubricate pivot and cam points in
order to prevent oxidation phenomenons that damage
thecorrectmechanismfunctioningofquickreleases.
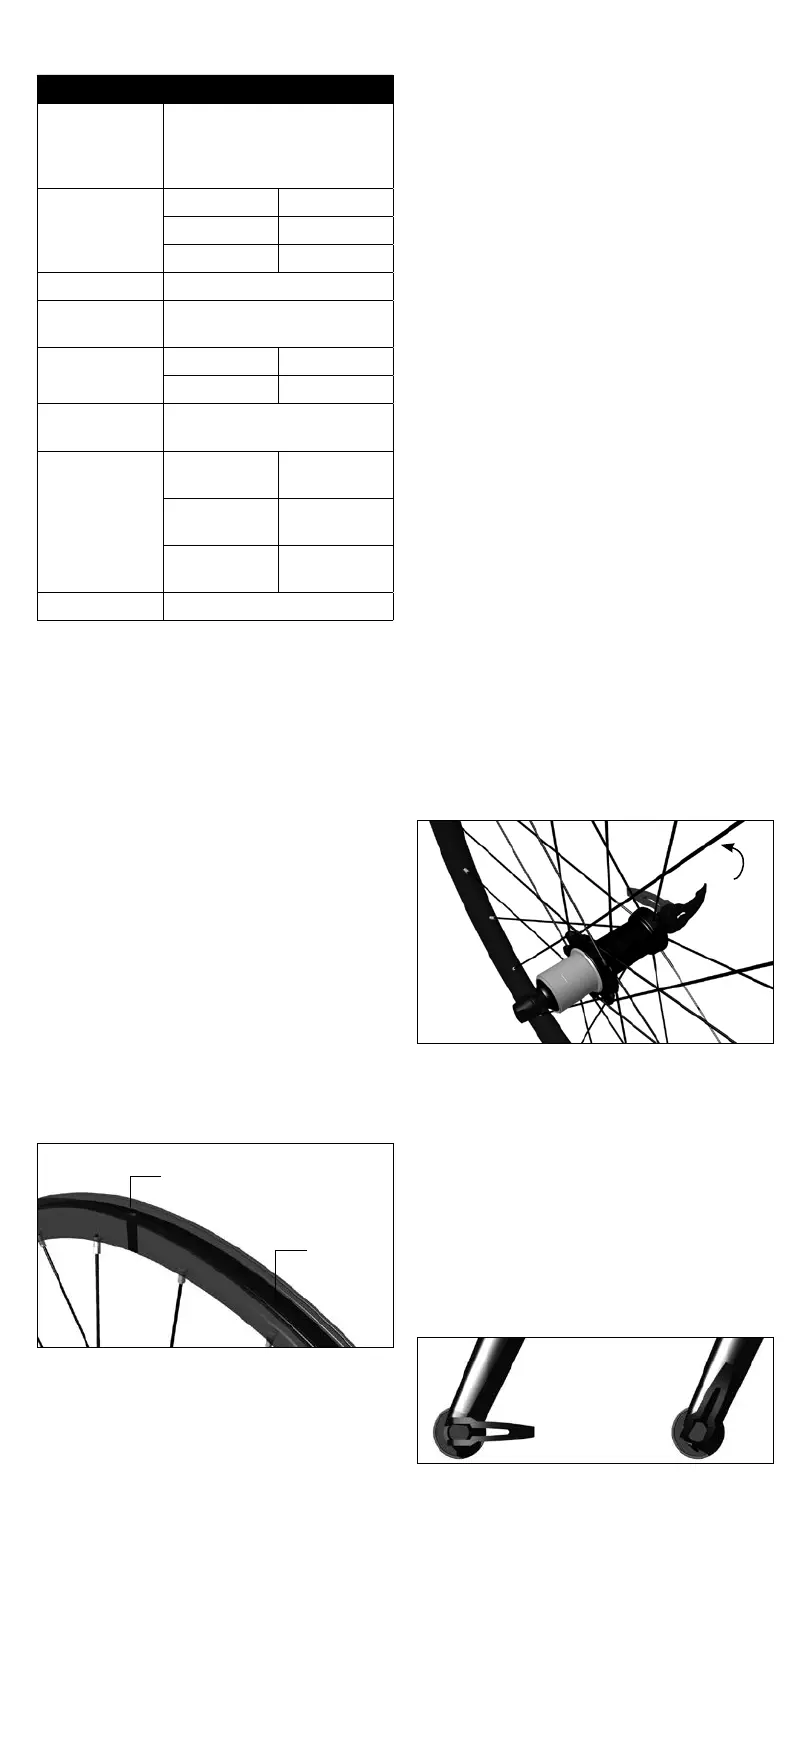
TECHNICAL SPECIFICATIONS:
OK NO!
Fig3
TIRES
ZERO2 wheels are designed to use clincher
tires with inner tubes only. Check tires and inner
tubes dimensions according to the rim technical
specifications included in this user’s manual.
WARNING: Do not use tubular or tubeless tires with
this wheel. The use of non compatible tires with this
wheel can cause sudden and unexpected loss of
pressure, loss of control and tire failure resulting in
serious accident and injury for the user.
• Before the tire installation check that rim tape is
already installed in the right position inside the rim; if
not please install first the rim tape.
• Makesuretherimtapecoveralltherimbedholes
along the entire circumference of the wheel.
• Thevalveholeontherimtapehastobeplacedat
the same position of the valve hole of the rim wheel
(Fig.1).
• Installthe tireon thewheel and proceede with tire
inflation as per tire manufacturer recommandations.
WARNING: Never exceed the maximum inflation
pressure recommended by the wheels manufacturer
as indicated in this user’s manual. Excessive tire
pressures could damage the rim structure resulting in
serious accident and injury for the user.
WARNING: Tire installation requires a specific
experience of the product, in case of doubts please
contact an official Deda Elementi dealer or a qualified
bicycle technician. During tire installation don’t use
tools or tire lever that can fold, damage or fragilize
the rim edge. An incorrect tire installation can cause
serious accidents and injury for the user.
Fig 1
Rim tape
Valve hole
Closed
Open
Fig2
Modello Ruote SL38C
Cassette
Compatibility
10v Shimano / Sram (with
1.80mm spacer)
11v Shimano
10-11v Campagnolo
Rim
Size 622x16C
Width 21.5mm
Height 25.0mm
RimTape 622x17mm
Tire
Compatibility
Clincher
Hubs
Front 100mm
Rear 130mm
Recommended
TiresSizes
min700x23-max700x32
Spokes
Front 284mm;at;
straight pull
RearNon
Drive side
297mm;at;
straight pull
RearDrive
side
284mm;at;
straight pull
Nipples 15mmABS,aluminum
 Loading...