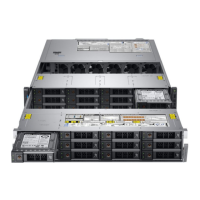
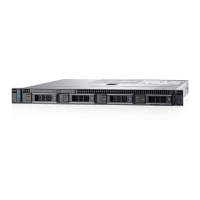
Figure 124. System board screws
3 Hold the system board holder, slightly lift the system board, and then slide it toward the front of the chassis.
CAUTION
: To prevent damage to the processor socket when replacing a faulty system board, ensure that you cover the
processor socket with the processor dust cover.
4 Incline the system board at an angle, and lift the system board out of the chassis.
CAUTION
: Take care not to damage the system identication button while removing the system board from the chassis.
Installing and removing system components 151

 Loading...


