Steps
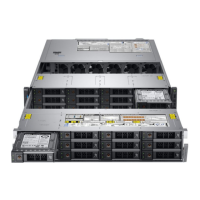
1 If locked, unlock the drive bay lock located above the left release latch, by pushing it up.
2 Open the release latches of drive bay 1 and pull the drive bays out.
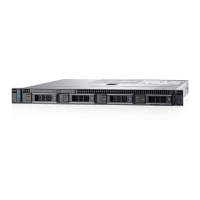
Figure 39. Opening the drive bays
Next steps
1 If installed, remove a drive blank or install a drive blank.
2 If installed, remove a drive carrier or install a drive carrier.
Closing the drive bays
Prerequisites
1 Follow the safety guidelines listed in Safety instructions.
2 If installed, remove front bezel.
Steps
1 Pull back the blue release tabs on both sides and slide the drive bays into the system, until both the bays lock into place.
68
Installing and removing system components

 Loading...


