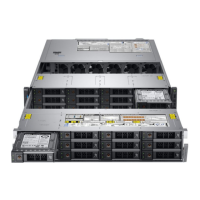
Figure 52. Installing bay 1 backplane bracket
Next steps
1 Install all the drives.
2 Close the drive bays.
3 If removed, install the front bezel.
4 Follow the procedure listed in After working inside your system.
Removing the drive bay 2 backplane brackets
Prerequisites
1 Follow the safety guidelines listed in Safety instructions.
2 Power o the system and all attached peripherals.
3 Disconnect the system from the electrical outlet, and disconnect the peripherals.
4 If installed, remove the front bezel.
5 Open the drive bays, remove all drives, and then close the drive bays.
6 Remove the power supply units.
7 Remove the system from the rack and place it on an ESD work bench. For more information, see the Rail Installation Guide available at
www.dell.com/poweredgemanuals.
8 Open the drive bays.
Steps
1 Using a Phillips #1 screwdriver, remove the screws on the top of the drive bay 2, securing the backplane brackets.
2 Disconnect the cables of the cable chain assembly connected to the backplane.
3 Slide the brackets to the right to disengage them from the slots on the bay base in drive bay 2.
80
Installing and removing system components

 Loading...


