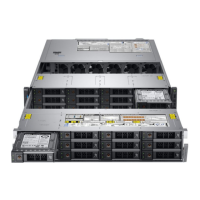
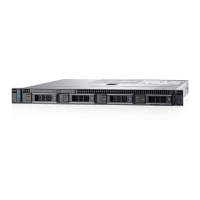
Figure 58. Installing the rear drive cage
Next steps
1 Reconnect all the disconnected cables to the rear drive backplane.
2 Install the rear drives.
3 Install the air shroud.
4 Install the system cover.
5 Place the system into the rack. For more information, see the Rail Installation Guide available at www.dell.com/poweredgemanuals
6 Open the drive bays, install all drives, and then close the drive bays.
7 Install the power supply units.
8 Follow the procedure listed in After working inside your system.
Drive backplane
Drive backplane guidelines
Depending on your system conguration, the drive backplanes supported in PowerEdge R740xd2 are listed here:
Table 5. Supported backplane options for PowerEdge R740xd2 system
System Supported backplane options
PowerEdge R740xd2 3.5-inch (x12) SAS/SATA/SSD backplane (front)
3.5-inch (x2) SAS/SATA/SSD backplane (rear)
86 Installing and removing system components

 Loading...


