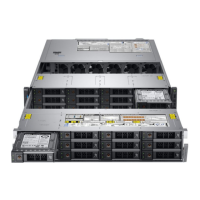
11 Remove the rear drive cage.
Steps
1 Use the hooks on the rear drive cage as guides to align the drive backplane.
2 Lower the backplane into the rear drive cage until it is rmly seated.
3 Using Phillips #2 screwdriver, tighten the screws to secure the backplane to the rear drive cage.
Figure 68. Installing the rear drive backplane
Next steps
1 Install the rear drive cage.
2 Install the drives into the rear drive cage.
3 Connect all the cables to the backplane.
4 Place the system into the rack. for more information, see the Rail Installation Guide available at www.dell.com/poweredgemanuals.
5 Open the drive bays, install all drives, and then close the drive bays.
6 Install the power supply units.
7 If removed, install front bezel.
8 Follow the procedure listed in After working inside your system.
Cable routing
Table 6. Cable routing legend
Color Description
Red Power
Green Signal
Grey Data
94 Installing and removing system components

 Loading...


