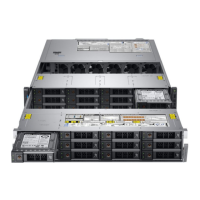
• 1U performance heat sink (For 180/200W CPU in mid drive tray con
gurations)
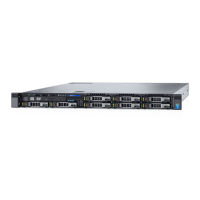
• 1U heat sink (For 120W-170W CPU)
Use the following procedures when:
• Removing and installing a heat sink
• Installing an additional processor
• Replacing a processor
NOTE
: To ensure proper cooling, you must install a processor blank in any empty processor socket.
Removing a heat sink
Prerequisites
WARNING
: The heat sink may be hot to touch for some time after the system has been powered down. Allow the heat sink to
cool before removing it.
CAUTION
: Never remove the heat sink from a processor unless you intend to remove the processor. The heat sink is necessary
to maintain proper thermal conditions.
1 Follow the safety guidelines listed in Safety instructions.
2 Follow the procedure listed in Before working inside your system.
3 If installed, remove the expansion cards
.
4
Remove the air shroud
.
5 If installed,
remove the mid drive tray.
Steps
1 Using a Torx T20 screw driver, loosen the captive screw 4 on the heat sink. Allow some time (approximately 30 seconds) for the heat
sink t
o loosen from the processor.
The captive screw numbers are marked on the heat sink.
2 Loosen the captive screw 3 that is diagonally opposite to the screw 4.
3 Repeat the procedure for the remaining two captive screws 2 and 1.
4 Loosen all the captive screws in the sequence 4, 3, 2, 1 and lift the heat sink away from the system.
Installing and removing system components 107

 Loading...


