Steps
1. At the front of the rack, align and install the left nutbar (051-000-357) directly above the rail assembly.
2. Secure the nutbar with two M5 securing screws, one above the top alignment pin and one below the lower alignment pin.
3. Repeat the previous steps for the right nutbar (051-000-356).
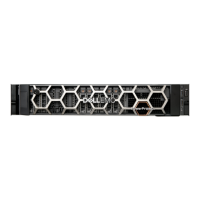
Install an FS25 shelf into the rack
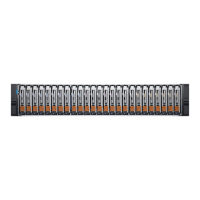
If installing an FS25 is required, complete the following steps to install the FS25 SSD shelf.
The rails are compatible with racks with square holes, unthreaded round holes, and threaded round holes.
Installing the rails in the cabinet
About this task
NOTE: The snap-in rails are dedicated left and right, and cannot be interchanged.
Steps
1. Orient the rails. Face the front of the cabinet when orienting the left and right rail placement. The front edge of each rail is
stamped L or R.
2. From the rear of the cabinet, insert the adapters into the holes on the rear rack channel with the rail extended as shown in
the following figure.
Figure 64. Push rail into rear channel mounting holes
3. Push the rail into the rear mounting holes until the spring clips snap into place on the outside of the rear channel.
CAUTION:
To ensure proper alignment of the rails, ensure that:
● The holes on the rail line up with the holes on the cabinet.
● The rails are level and using the same cabinet Unit markers from front to rear.
4. From the rear of the cabinet, secure the rails in place using one M5 screw on each rail.
56
Install the Disk Shelves in the Rack
 Loading...
