270 Scanning
Sending an E-Mail With the Scanned Image
To send an e-mail attached with the scanned image from your printer, follow the steps below:
•Set up
E-Mail Server Settings
of
E-Mail Alert
on the
Dell Printer Configuration Web Tool
. See "E-Mail Alert" on
page 129 for more details. For information about your e-mail server, contact your system administrator or your local
Internet service provider (ISP).
• Setup the e-mail address book through the
Dell Printer Configuration Web Tool
. See "Setting an E-Mail Address
Book" on page 270 for more details.
Setting an E-Mail Address Book
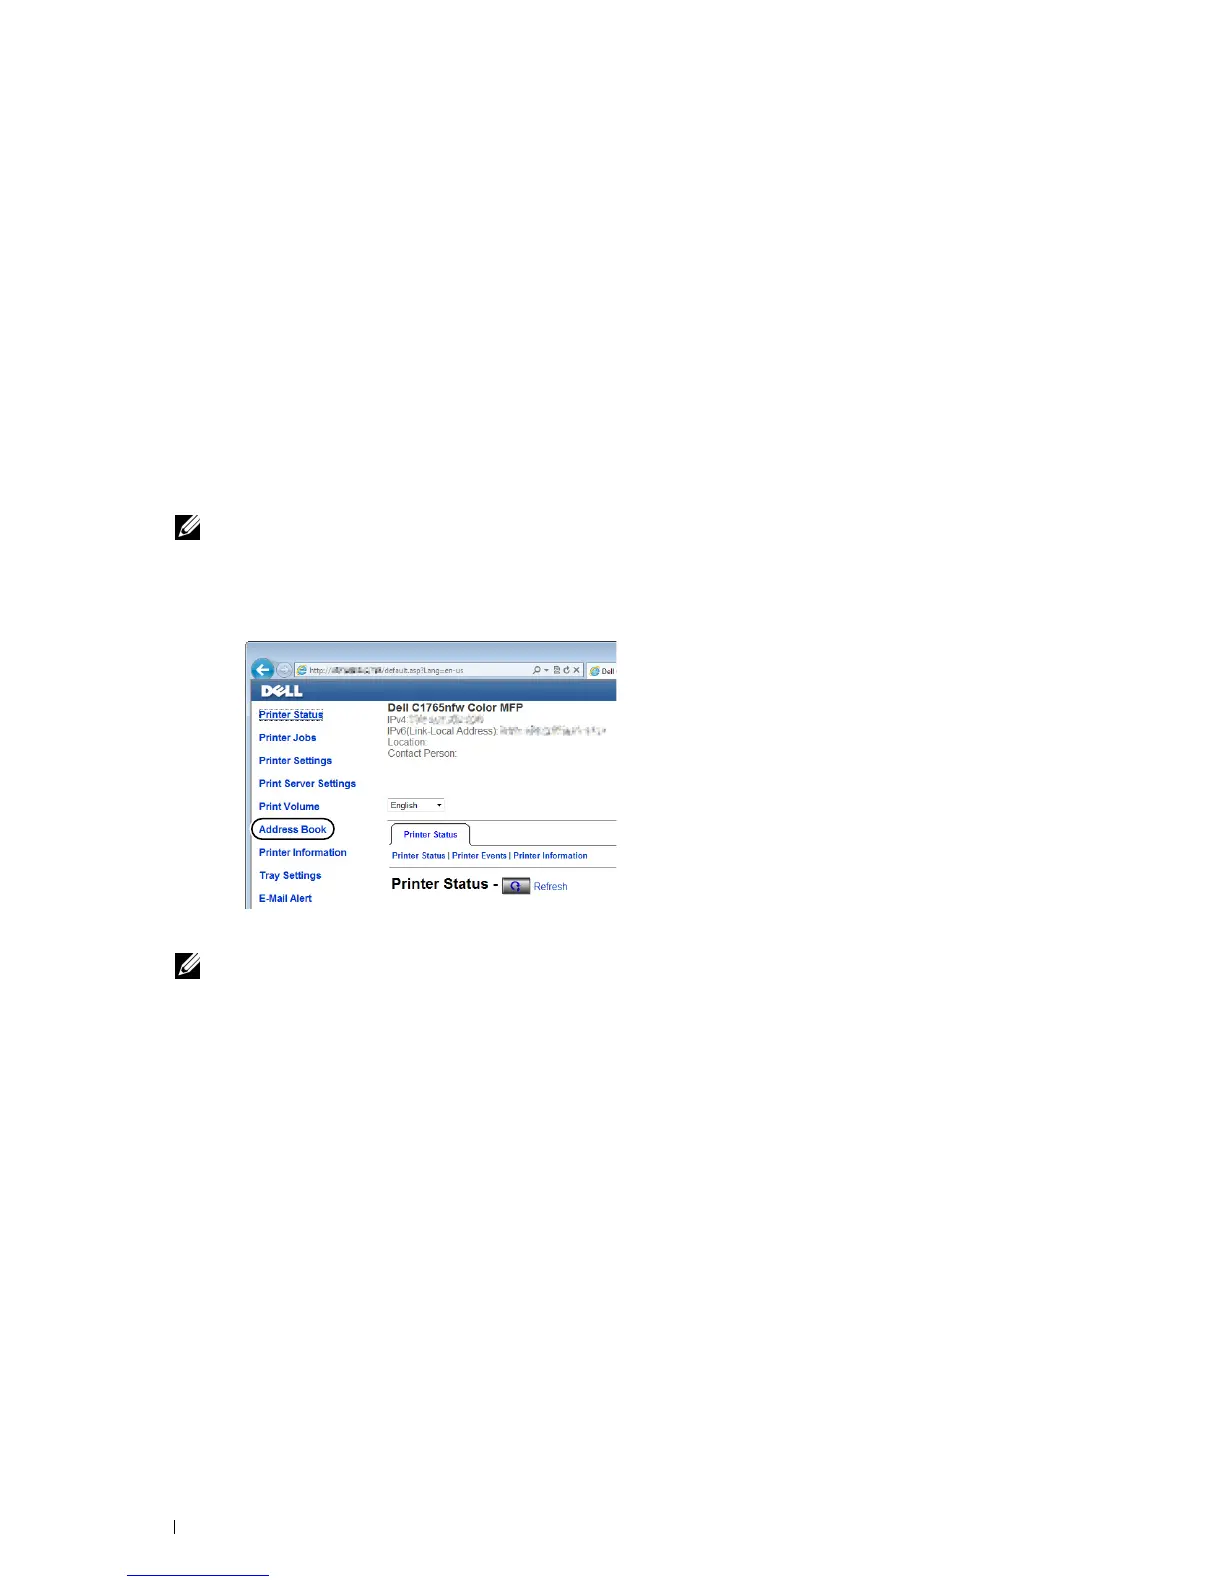
1
Open a web browser.
2
Enter the IP address of the printer in the address bar and click
Go
.
The printer's web page appears.
NOTE: For details on how to check the IP address of the printer, see "Verifying the IP Settings" on page 55.
3
Click
Address Book
.
The login dialog box appears.
4
Enter the correct user name and password.
NOTE: The default user name is admin, and the default password is left blank (NULL).
 Loading...