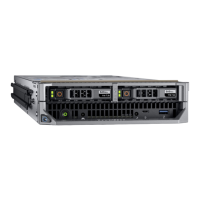
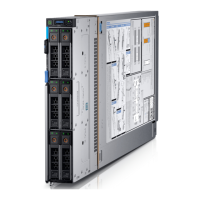
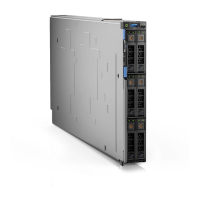
2. Remove the system from the enclosure.
3. Install the I/O connector cover.
CAUTION: To prevent damage to the I/O connectors, ensure that you cover the connectors when you remove
the system from the enclosure.
4. Remove the system cover.
After working inside your system
Prerequisites
Follow the safety guidelines listed in Safety instructions.
Steps
1. Install the system cover.
2. Remove the I/O connector cover.
CAUTION: To prevent damage to the I/O connectors, do not touch the connectors or the connector pins.
3. Install the system into the enclosure.
4. Turn on the system.
Recommended tools
You may need the following items to perform the procedures in this section:
● Phillips #1 and #2 screwdrivers
● T8 and T30 Torx drivers
● Wrist grounding strap
● Hex nut driver-5 mm
Removing the system from the enclosure
Prerequisites
1. Follow the safety guidelines listed in Safety instructions.
2. If installed, remove the front bezel from the PowerEdge VRTX enclosure.
3. Turn off the system.
Steps
1. Press the release button on the system handle and simultaneously pull the system handle to unlock the system from the
enclosure.
CAUTION: To prevent damage to the I/O connectors, do not touch connectors or the connector pins.
CAUTION: To protect the I/O connector pins, install the I/O connector covers every time a system is
removed from the enclosure.
2. Holding the system handle, slide the system out of the enclosure.
NOTE: Ensure that you do not lift the system by using only the system handle.
14 Installing and removing system components

 Loading...


