Removing cooling fan
The procedure for removing standard and high performance fans are identical.
Prerequisites
WARNING: Opening or removing the system cover when the system is on, may expose you to a risk of electric shock. Exercise
utmost care while removing or installing cooling fans.
1 Follow the safety guidelines listed in Safety instructions.
2 Follow the procedure listed in Before working inside your system.
3 Remove the air shroud.
4 Remove the internal PERC riser.
5 Move the cables out of way to access the cooling fan cable connector on the system board.
Steps
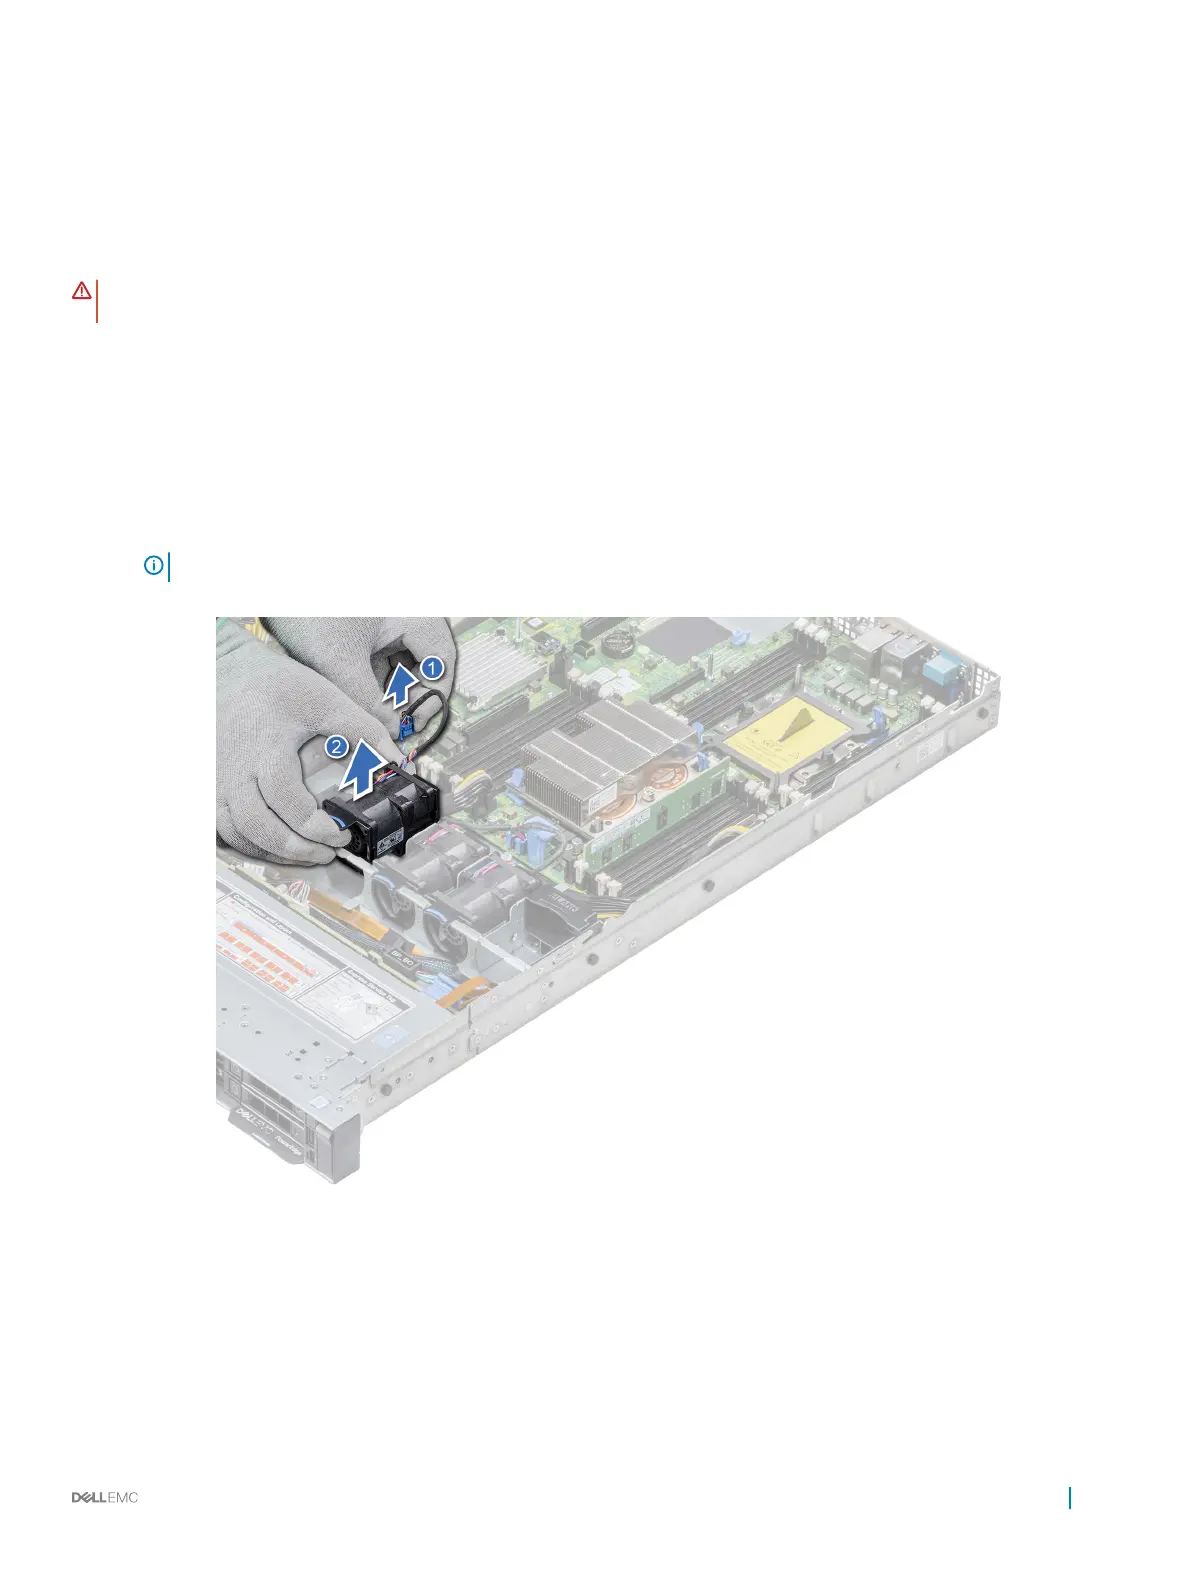
1 Disconnect the cooling fan cable connected to the system board connector.
NOTE: In the 4 x 3.5 inch hard drive system, disconnect the fan 1 cable from the power interposer board.
2 Press the release tab and lift the cooling fan out of the cooling fan cage.
Figure 29. Removing cooling fan
Next step
Install the cooling fan.
Installing and removing system components
45

 Loading...


