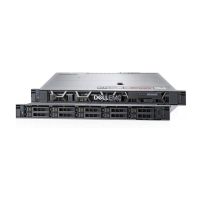
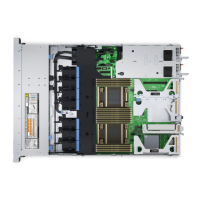
Figure 99. Cable routing -10 x 2.5 drive backplane with 8 NVMe
1.
Backplane 2. Backplane expander
3. Backplane signal cable (BP: J_BP_SIG to MB: J_BP_SIG1) 4. Cable routing clip
5. Backplane power cable (BP: J_BP_PWR_A1 to MB: J_BP1) 6. Backplane expander power cable (BP: J_BP_PWR_A to MB:
J_BP1)
7. NVMe cable (BP PCIe B1 and BP PCIe A1) 8. NVMe cable (BP PCIe B0 and BP PCIe A0)
9. Adapter PERC card (PERC11) 10. SAS cable (BP: BP SAS A0, BP SAS B0 to PERC: A1)
11. Cable routing clip
NOTE: The PERC11 H750, H350 and HBA350i cards are not supported on 4x3.5 + 2x2.5 dual PERC, 10x2.5 + 2x2.5 dual
PERC, or x10 NVMe configurations.
SAS expander card
Removing the SAS expander card
Prerequisites
1. Follow the safety guidelines listed in Safety instructions on page 34.
2. Follow the procedure listed in Before working inside your system on page 35.
3. Remove the cooling shroud.
4. Remove the cooling fan assembly.
5. Remove the backplane cover.
6. Disconnect the SAS cables from the SAS expander card.
Steps
1. Using Philips #2 screwdriver, loosen the screws that secure the SAS expander card to the expander card tray.
2. Pull the SAS expander card to disengage the connectors on SAS expander from the SAS connectors on backplane.
110
Installing and removing system components

 Loading...


