6. Replace the two screws (M2x4) that secure the Type-C port-bracket to the system board.
NOTE: Do not secure the two screws (M2x4) into the system board without the Type-C port-bracket.
7. Connect the power-adapter port cable to its connector on the system board.
8. Replace the tape that secures the power-adapter port cable to its connector of the system board.
9. Connect the battery cable to its connector on the system board.
10. Connect the keyboard cable to its connector on the system board and close the latch.
11. Connect the touchpad cable to its connector on the system board and close the latch.
12. Connect the I/O-board and USB-board cable to its connector and secure the latch.
Next steps
1. Install the display assembly.
2. Install the heat sink.
NOTE: If either the system board or the heat sink is replaced, use the thermal grease that is provided in the kit to
ensure that thermal conductivity is achieved.
3. Install the wireless card.
4. Install the M.2 2230 solid-state drive or the M.2 2280 solid-state drive, whichever is applicable.
5. Install the battery.
6. Install the base cover.
7. Follow the procedure in After working inside your computer.
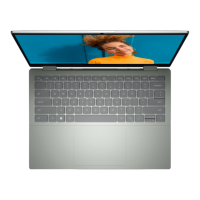
USB board
Removing the USB board
CAUTION: The information in this section is intended for authorized service technicians only.
Prerequisites
1. Follow the procedure in Before working inside your computer.
NOTE:
Ensure that your computer is in Service Mode. For more information, see step 6 in Before working inside your
computer.
2. Remove the base cover.
3. Remove the fan.
4. Remove the heat sink.
About this task
The following image(s) indicate the location of the USB board and provides a visual representation of the removal procedure.
Removing and installing Field Replaceable Units (FRUs)
71
 Loading...