Steps
1. Remove the single (M2x2) securing the WLAN card bracket to the system board.
2. Lift the bracket from the WLAN card module on the system board.
3. Disconnect the WLAN antenna cables from the WLAN module.
4. Disconnect the WWAN antenna cable and release the cable from the rubber guides on the system board.
5. Remove the two (M2x2) securing the display cable bracket to the system board.
6. Lift to remove the display cable bracket from the computer.
7. Disconnect the display, camera, touch screen, sensor board cables from the system board and release them from cable
guiding tabs.
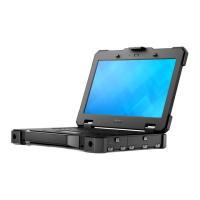
8. Open the display lid to 90º angle and remove the four (M2.5x4) screws securing the hinges to the palmrest assembly.
9. Remove the display assembly from the computer.
NOTE:
NOTE: The display assembly is a Hinge-Up Design (HUD) assembly and cannot be further disassembled once it is
removed from the bottom chassis. If any components in the display assembly are malfunctioning and must be replaced,
replace the entire display assembly.
Removing and installing components 37

 Loading...

