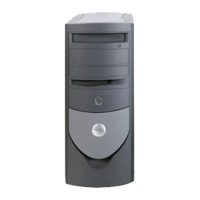
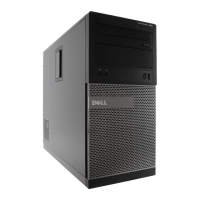
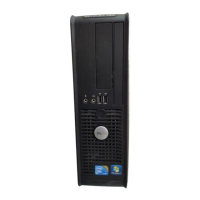
Side View
Back View
Back-Panel Connectors
The vents located on each side of the computer help prevent your computer from overheating. To ensure proper ventilation, do not block these
cooling vents.
See Diagnostic Lights for a description of light codes that can help you troubleshoot problems with your computer.
computer cover release knob
Rotate this knob in a clockwise direction to remove the cover.
The connectors for your computer (see Back-Panel Connectors).
The vents help prevent your computer from overheating. To ensure proper ventilation, do not block these cooling vents.
Connect a parallel device, such as a printer, to the parallel connector. If you have a USB printer, plug it into a USB connector.
l Green — A good connection exists between a 10-Mbps network and the computer.
l Orange — A good connection exists between a 100-Mbps network and the computer.
l Yellow — A good connection exists between a 1000-Mbps (1-Gbps) network and the computer.
l Off — The computer is not detecting a physical connection to the network or the network controller is turned off in system
setup.
To attach your computer to a network or broadband device, connect one end of a network cable to either a network jack or your
network or broadband device. Connect the other end of the network cable to the network adapter connector on the back panel of
your computer. A click indicates that the network cable has been securely attached.
NOTE: Do not plug a telephone cable into the network connector.
On computers with a network connector card, use the connector on the card.
It is recommended that you use Category 5 wiring and connectors for your network. If you must use Category 3 wiring, force the

 Loading...


