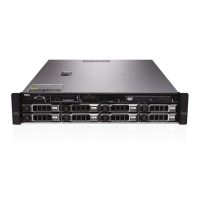
Figure 79. Cabling diagram of the hard drive backplane using the integrated storage controller
1
system board 2 integrated storage controller connector
3 integrated storage controller 4 signal cable connector on system board
5 hard drive backplane 6 SAS B cable connector on backplane
7 signal cable connector on backplane 8 SAS A cable connector on backplane
Next steps
1 Reconnect the data cable(s) and power cable to the hard drive backplane
2 Install all SAS/SATA/SSD hard drives into their original locations.
3 Follow the procedure listed in the After working inside your system section.
Related link
Safety instructions
Before working inside your system
After working inside your system
Removing a hot swappable hard drive or SSD
Installing a hot-swap hard drive
Installing the hard drive backplane
Prerequisites
1 Follow the safety guidelines listed in the Safety instructions section.
2 Follow the procedure listed in the Before working inside your system section.
3 Disconnect the data, signal and power cables to the backplane.
4 Remove all SAS/SATA/SSD hard drives.
Installing and removing system components
147

 Loading...