Steps
1 Rotate the latch release lock counter clockwise to the unlocked position.
2 Lift the latch toward the back of the system.
The system cover slides back and the tabs on the system cover disengage from the slots on the chassis.
NOTE: The position of the latch may vary depending on the conguration of your system.
3 Hold the cover on both sides, and lift the cover away from the system.
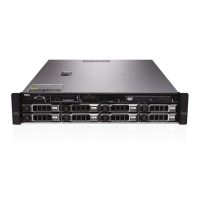
Figure 14. Opening and closing the system
1
system cover 2 latch
3 latch release lock
Next steps
1 Install the system cover.
2 Follow the procedure listed in the After working inside your system section.
Related link
Safety instructions
Installing the system cover
Before working inside your system
After working inside your system
Installing the system cover
Prerequisites
1 Follow the safety guidelines listed in the Safety instructions section.
2 Ensure that all internal cables are connected and placed out of the way and no tools or extra parts are left inside the system.
Installing and removing system components
65

 Loading...