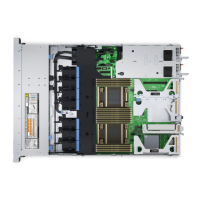
Figure 133. Removing the serial COM port
Next steps
1. Replace the serial COM port.
Installing the serial COM port
The procedure to install serial COM port to Riser 3 or 4 is same.
Prerequisites
1. Follow the safety guidelines listed in the Safety instructions.
2. Follow the procedure listed in the Before working inside your system.
3. Remove the air shroud.
4. Remove expansion card riser.
Steps
1. Open the latch on the expansion card riser and remove the filler bracket from the expansion card riser (Riser 3).
NOTE:
For more information about how to remove the filler bracket, see the Removing the expansion card from the
expansion card riser topic.
2. Slide the serial COM port into the expansion card riser.
3. Connect the serial COM port cable to the serial port.
4. Connect the serial COM port cable to the connector on the rear I/O board.
NOTE: The numbers on the image do not depict the exact steps. The numbers are for representation of sequence.
Installing and removing system components 163

 Loading...


