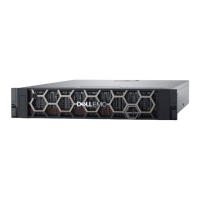
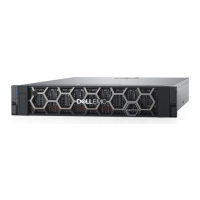
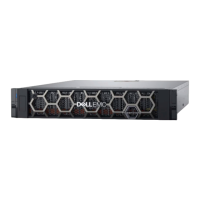
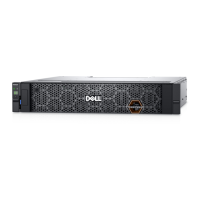
Summary of tasks for installing an expansion enclosure
To install an expansion enclosure, complete the tasks below in the order in which they appear. This document provides
instructions for completing each task.
1. Verify the contents of the shipping package.
2. Choose the space in the cabinet for the new expansion enclosure.
3. Remove the filler panels that cover the cabinet space for the new expansion enclosure.
4. Install the rails for the new expansion enclosure in the cabinet.
5. Install the expansion enclosure on the rails.
6. Install the cable management arms.
7. Apply cable labels.
8. Attach the expansion (back-end) cables, and then attach the power cables.
9. Close the cable management arms.
10. Test the cable management arms.
11. If the new expansion enclosure shipped without its drives installed, install the drives in the expansion enclosure.
12. Install the front bezel on the new expansion enclosure.
Verify shipping package contents
Confirm that you received all the equipment that is required to install the new NVMe expansion enclosure.
Verify that you received the following:
Component
Quantity
NVMe expansion enclosure 1
Rail kit, including
Snap-in rails (2)
Screws (2 per rail)
1
Cable management arms 2
Install a new base enclosure and an optional expansion enclosure 29

 Loading...


