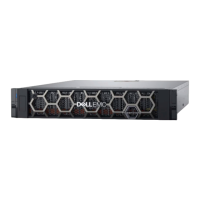
Base enclosure service procedures
The base enclosure contains customer-replaceable components. Follow these procedures to safely replace a failed component.
NOTE: Review the information in Safety precautions for handling replaceable units before handling replaceable parts.
Topics:
• Replace a faulted drive in the base enclosure
• Add a new drive to the base enclosure
• Replace an AC power supply
• Replace an embedded module
• Replace a 4-port card
• Replace a 2-port 100GbE card
• Replace an SFP
• Replace an I/O module
• Replace a fan module
• Replace a dual inline memory module (DIMM)
• Replace an internal M.2 boot module
• Replace an M.2 boot module adaptor
• Replace a node
Replace a faulted drive in the base enclosure
Take the following actions to remove a faulted drive and install the replacement drive into the base enclosure.
Identify a faulted drive from PowerStore Manager
Before you replace a drive, ensure that you have identified its location within the system. Using PowerStore Manager, you can
identify and locate a faulted drive.
Steps
1. From PowerStore Manager, select Hardware.
2. Select the appliance that includes the drive that you need to replace.
3. On the Components card, under Drives, expand BaseEnclosure and select the faulted drive.
Faulted parts appear in red in the image of the system, and report a status of Faulted in the State field.
4. Click Blink LED.
The amber fault light on the drive starts blinking.
Remove a faulted 2.5" drive
Steps
1. Locate the drive with the blinking amber LED fault light.
2. If you are removing an NVMe NVRAM drive, push the latch cover up.
2
Base enclosure service procedures 53
 Loading...