r
r
i
r
r
r
r
r
r
r
i
r
I
DIFFERENTIAL ASSEMBLY
DISASSEMBLY
1.
Remove the
O-rings
from the axle shafts.
2.
Remove the carrier bearing from ring gear side
of the differential using a suitable puller. If it is
necessary, remove some of the ring gear bolts
to aid in the installation of the puller. (Fig. 33)
3. Remove the ring gear bolts and ring gear.
4.
Remove the side gear.
5. Remove the shaft retaining pin and remove the
spider gear shaft. (Fig. 34)
6. Remove the spider gears and concave
washers.
7. Remove the side gear and thrust washer.
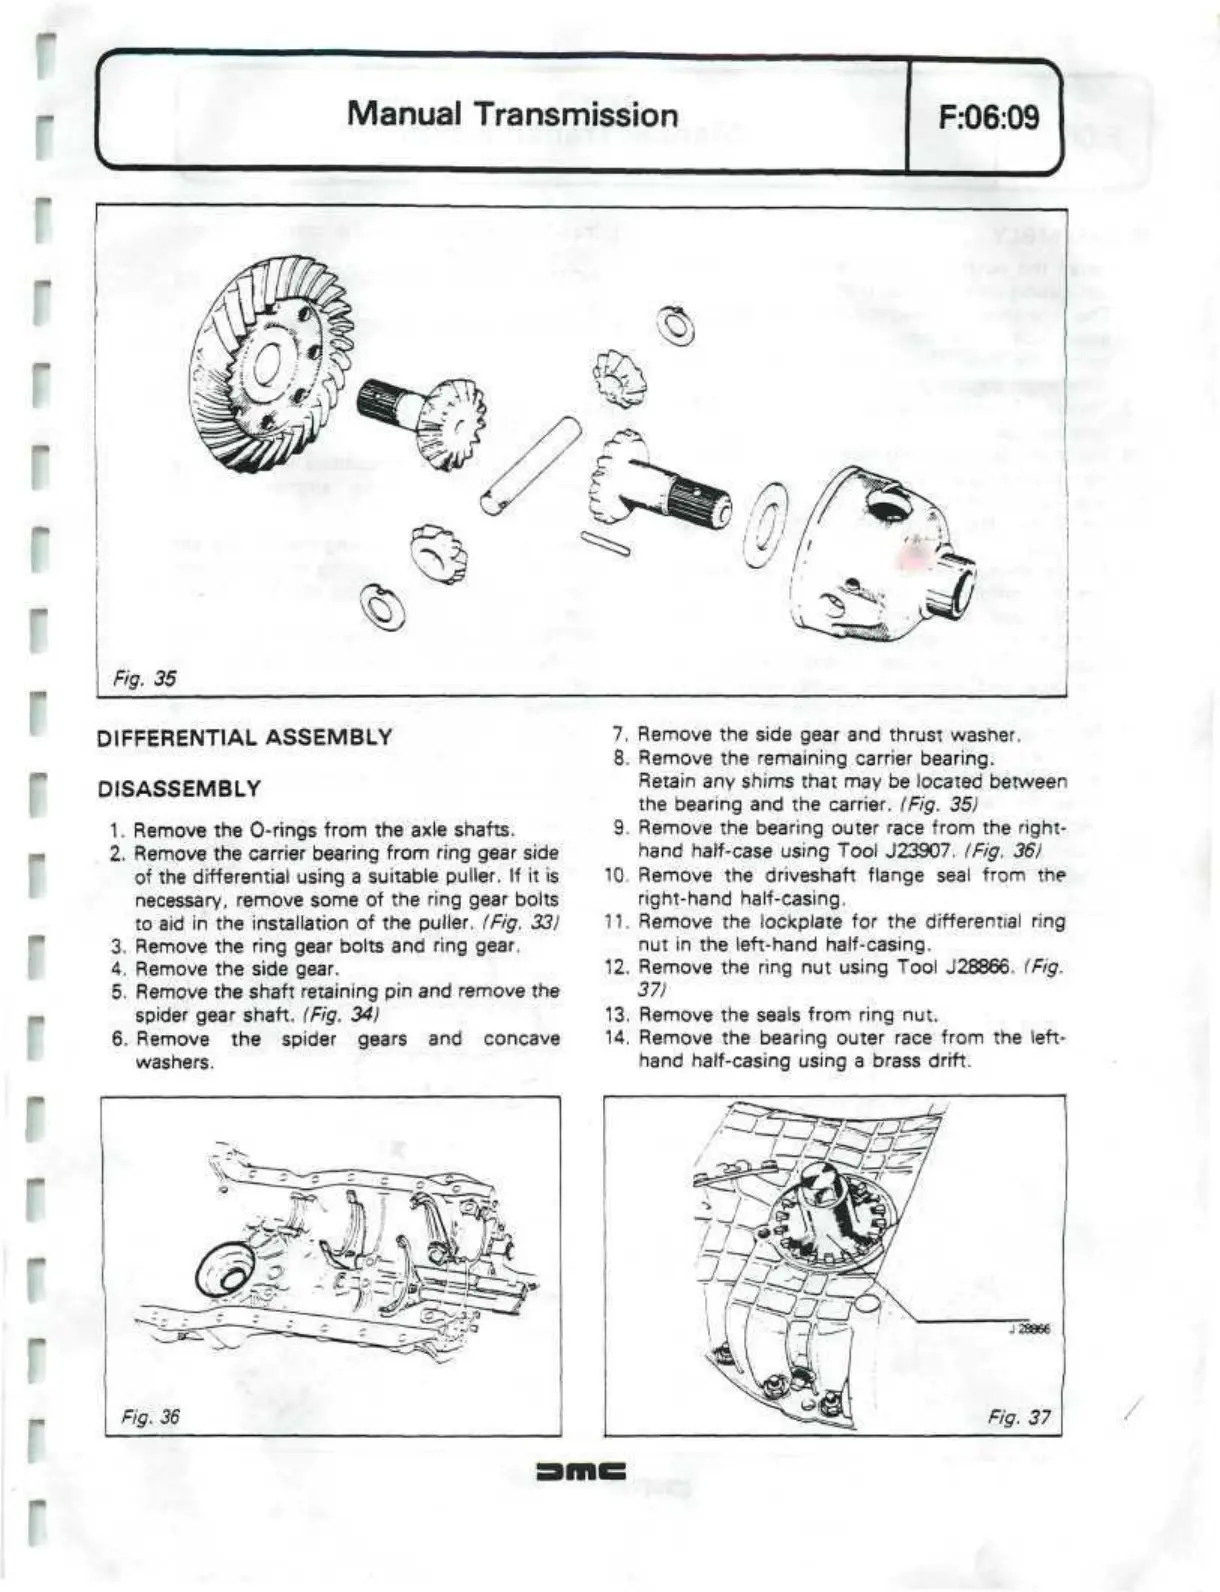
8. Remove the remaining carrier bearing.
Retain any shims that may be located between
the bearing and the carrier. (Fig. 35)
9. Remove the bearing outer race from the right-
hand half-case using Tool J23907. (Fig. 36)
10.
Remove the driveshaft flange seal from the
right-hand half-casing.
11.
Remove the lockplate for the differential ring
nut in the left-hand half-casing.
12.
Remove the ring nut using Tool J28866. (Fig.
37)
13.
Remove the seals from ring nut.
14.
Remove the bearing outer race from the left-
hand half-casing using a brass drift.
 Loading...
