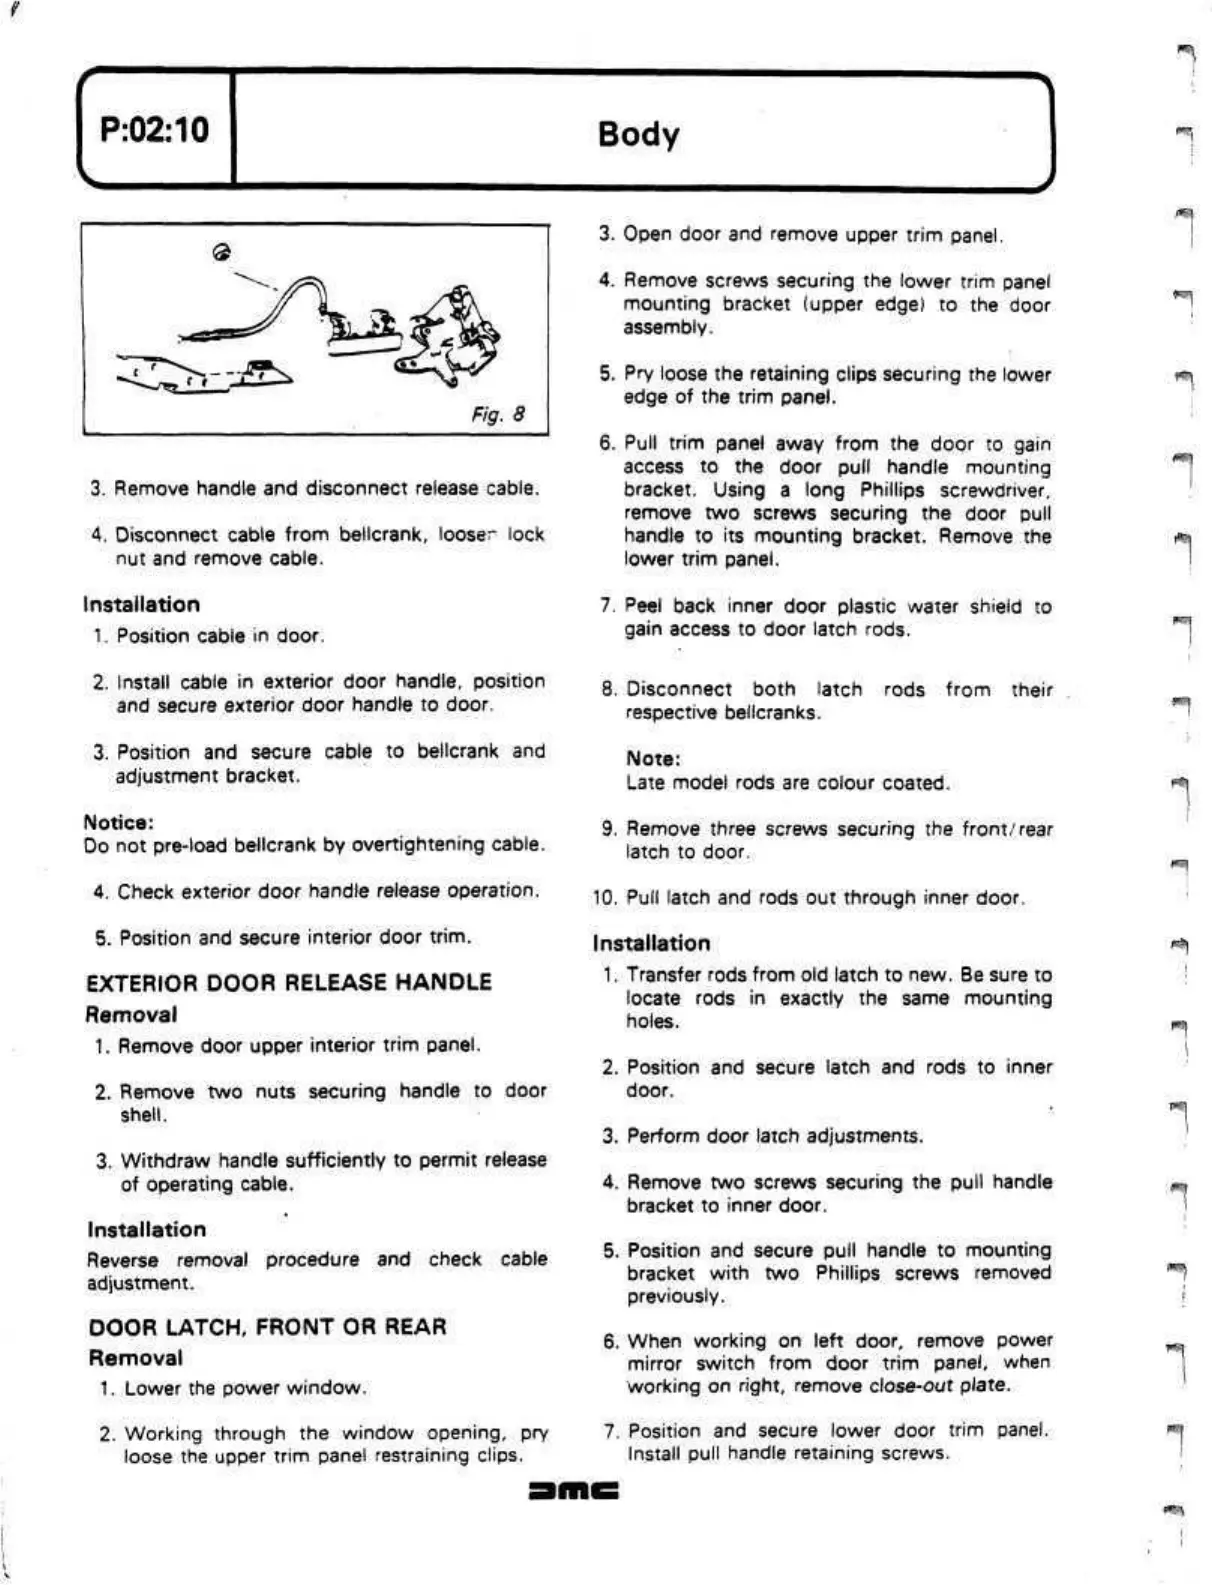
3. Remove handle and disconnect release cable.
4.
Disconnect cable from bellcrank,
looser
lock
nut and remove cable.
Installation
1.
Position cable in door.
2.
Install cable in exterior door handle, position
and secure exterior door handle to door.
3. Position and secure cable to bellcrank and
adjustment bracket.
Notice:
Do not pre-load bellcrank by overtightening cable.
4.
Check exterior door handle release operation.
5. Position and secure interior door
trim.
EXTERIOR DOOR RELEASE HANDLE
Removal
1.
Remove door upper interior trim panel.
2.
Remove two nuts securing handle to door
shell.
3. Withdraw handle sufficiently to permit release
of operating cable.
Installation
Reverse removal procedure and check cable
adjustment.
DOOR LATCH, FRONT OR REAR
Removal
1.
Lower the power window.
2.
Working through the window opening, pry
loose the upper trim panel restraining clips.
3. Open door and remove upper trim panel.
4.
Remove screws securing the lower trim panel
mounting bracket (upper edge) to the door
assembly.
5. Pry loose the retaining clips securing the lower
edge of the trim panel.
6. Pull trim panel away from the door to gain
access to the door pull handle mounting
bracket. Using a long Phillips screwdriver,
remove two screws securing the door pull
handle to its mounting bracket. Remove the
lower trim panel.
7. Peel back inner door plastic water shield to
gain access to door latch rods.
8. Disconnect both latch rods from their
respective bellcranks.
Note:
Late model rods are colour coated.
9. Remove three screws securing the
front/rear
latch to door.
10.
Pull latch and rods out through inner door.
Installation
1.
Transfer rods from old latch to new. Be sure to
locate rods in exactly the same mounting
holes.
2.
Position and secure latch and rods to inner
door.
3. Perform door latch adjustments.
4.
Remove two screws securing the pull handle
bracket to inner door.
5. Position and secure pull handle to mounting
bracket with two Phillips screws removed
previously.
6. When working on left door, remove power
mirror switch from door trim panel, when
working on right, remove close-out plate.
7. Position and secure lower door trim panel.
Install pull handle retaining screws.
I'^l
m
i
r
:
^
 Loading...
