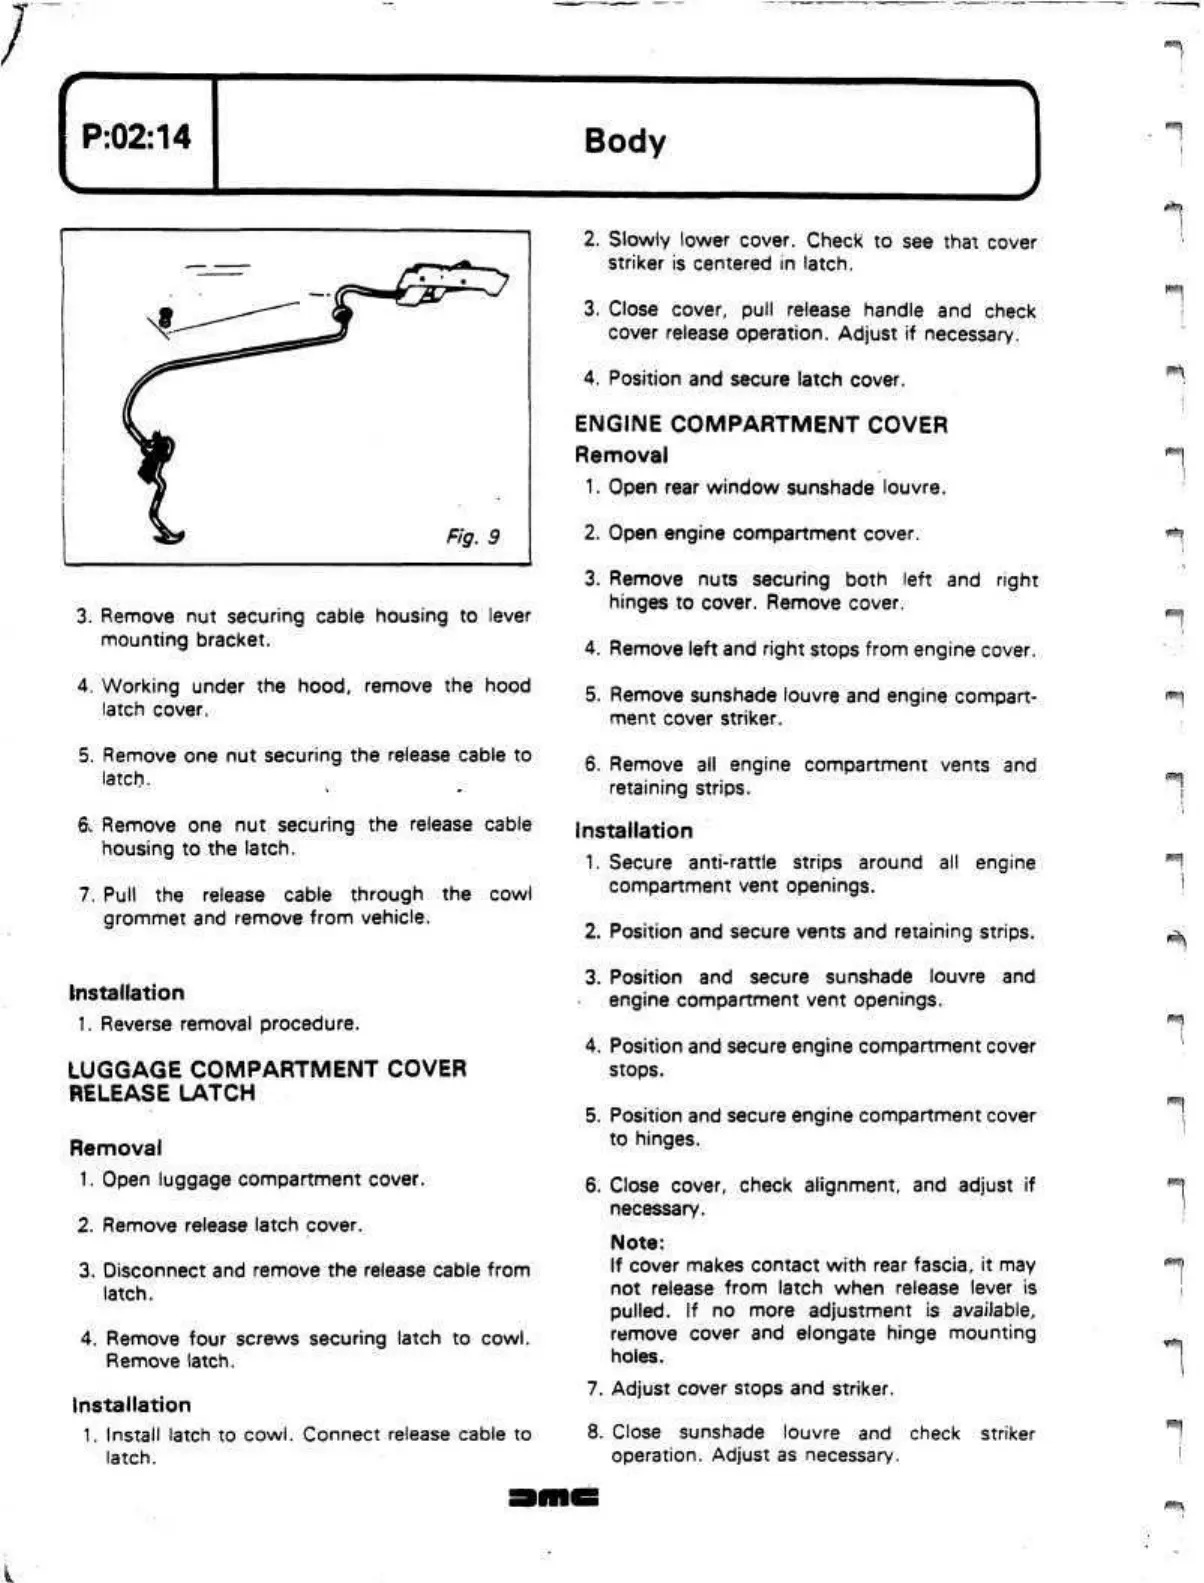
3. Remove nut securing cable housing to lever
mounting bracket.
4.
Working under the hood, remove the hood
latch cover.
5. Remove one nut securing the release cable to
latch.
6.
Remove one nut securing the release cable
housing to the latch.
7. Pull the release cable through the cowl
grommet and remove from vehicle.
Installation
1.
Reverse removal procedure.
LUGGAGE COMPARTMENT COVER
RELEASE LATCH
Removal
1.
Open luggage compartment cover.
2.
Remove release latch cover.
3. Disconnect and remove the release cable from
latch.
4.
Remove four screws securing latch to cowl.
Remove latch.
Installation
1.
Install latch to cowl. Connect release cable to
latch.
2.
Slowly lower cover. Check to see that cover
striker is centered in latch.
3. Close cover, pull release handle and check
cover release operation. Adjust if necessary.
4.
Position and secure latch cover.
ENGINE COMPARTMENT COVER
Removal
1.
Open rear window sunshade louvre.
2.
Open engine compartment cover.
3. Remove nuts securing both left and right
hinges to cover. Remove cover.
4.
Remove left and right stops from engine cover.
5. Remove sunshade louvre and engine compart-
ment cover striker.
6. Remove all engine compartment vents and
retaining strips.
Installation
1.
Secure anti-rattle strips around all engine
compartment vent openings.
2.
Position and secure vents and retaining strips.
3. Position and secure sunshade louvre and
engine compartment vent openings.
4.
Position and secure engine compartment cover
stops.
5. Position and secure engine compartment cover
to hinges.
6. Close cover, check alignment, and adjust if
necessary.
Note:
If
cover makes contact with rear fascia, it may
not release from latch when release lever is
pulled.
If no more adjustment is available,
remove cover and elongate hinge mounting
holes.
7. Adjust cover stops and striker.
8. Close sunshade louvre and check striker
operation.
Adjust as necessary.
F"'\
i>:
;
.
j
f":
j
<•:*<
 Loading...
