r
r
r
f
r
i
r
i
AIR INLET SCREEN
Removal
1.
Raise car on hoist.
2.
Remove five screws securing air inlet screen to
spoiler.
3. Remove one screw from each side securing the
air inlet screen to underbody.
4.
Remove five screws securing air inlet screen to
front fascia. Remove screen.
Installation
1.
Reverse removal procedures.
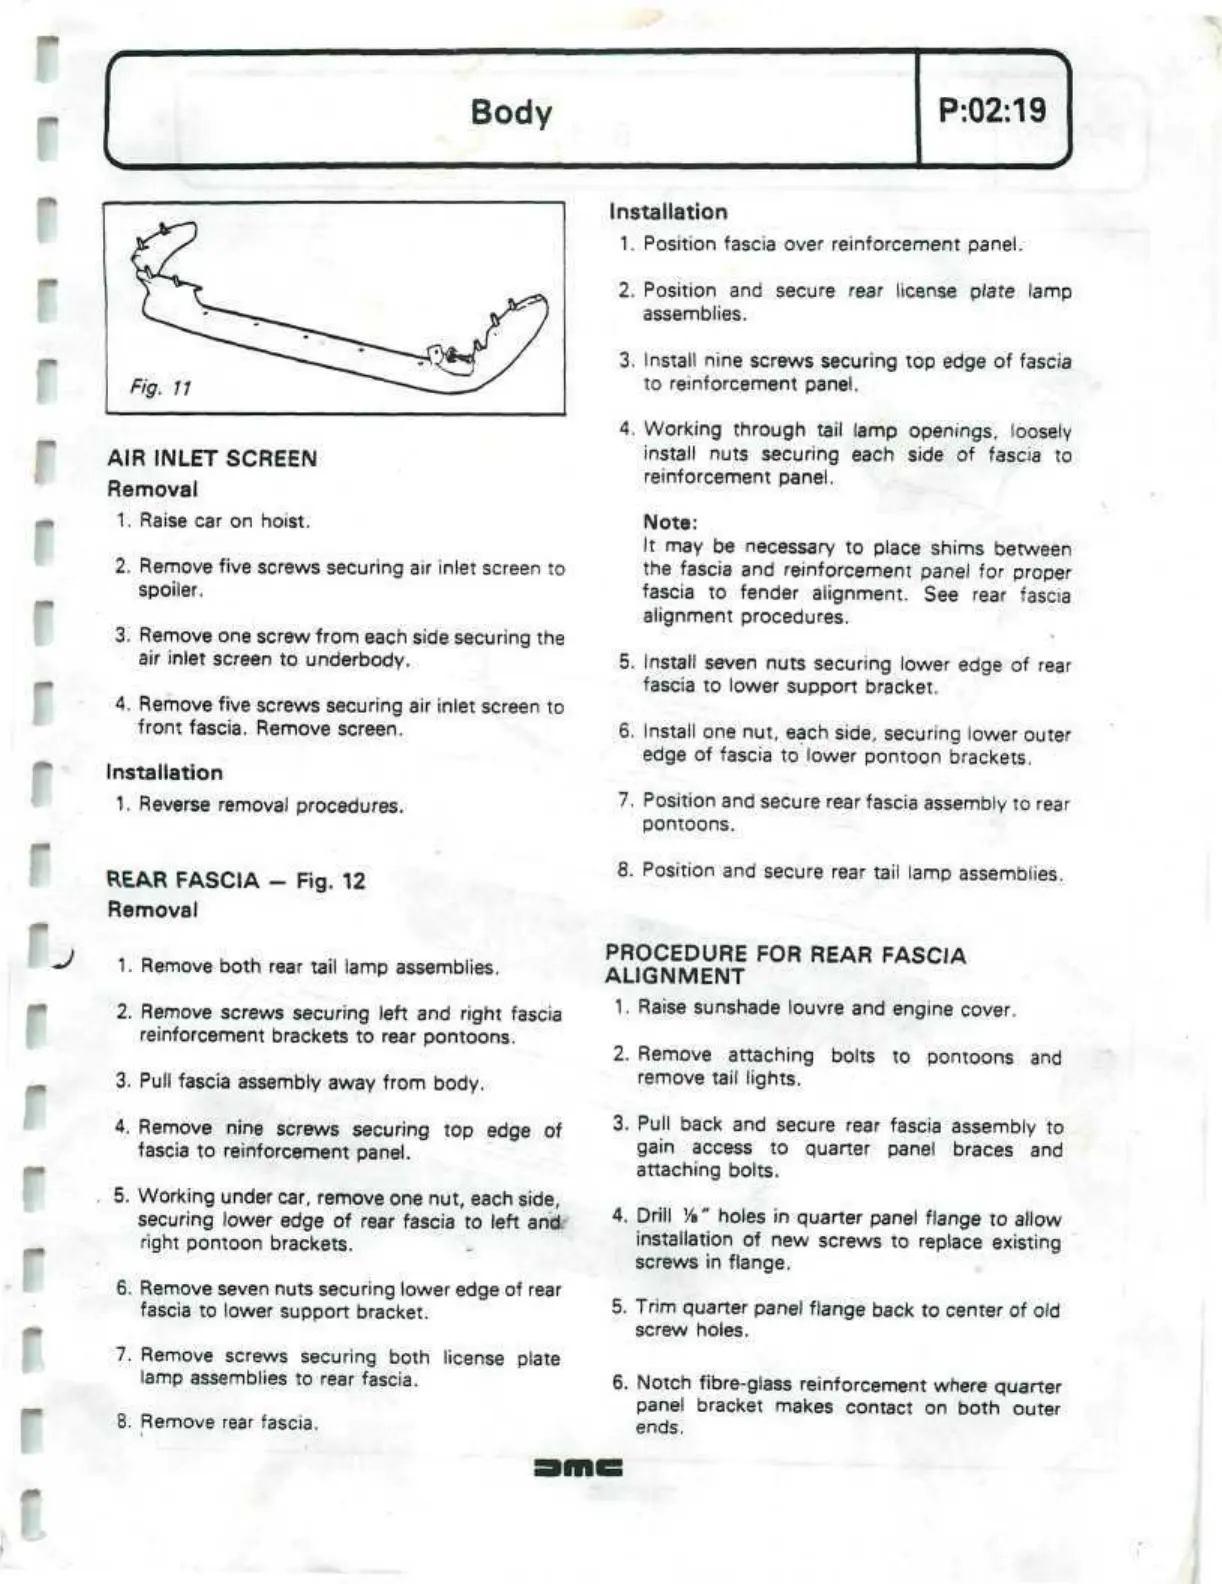
REAR FASCIA - Fig. 12
Removal
1.
Remove both rear tail lamp assemblies.
2.
Remove screws securing left and right fascia
reinforcement brackets to rear pontoons.
3. Pull fascia assembly away from body.
4.
Remove nine screws securing top edge of
fascia to reinforcement panel.
5. Working under car, remove one nut, each side,
securing lower edge of rear fascia to left
and;
right pontoon brackets.
6. Remove seven nuts securing lower edge of rear
fascia to lower support bracket.
7. Remove screws securing both license plate
lamp assemblies to rear fascia.
8. Remove rear fascia.
Installation
1.
Position fascia over reinforcement panel.
2.
Position and secure rear license plate lamp
assemblies.
3. Install nine screws securing top edge of fascia
to reinforcement panel.
4.
Working through tail lamp openings, loosely
install nuts securing each side of fascia to
reinforcement panel.
Note:
It may be necessary to place shims between
the fascia and reinforcement panel for proper
fascia to fender alignment. See rear fascia
alignment procedures.
5. Install seven nuts securing lower edge of rear
fascia to lower support bracket.
6. Install one nut, each side, securing lower outer
edge of fascia to lower pontoon brackets.
7. Position and secure rear fascia assembly to rear
pontoons.
8. Position and secure rear tail lamp assemblies.
PROCEDURE FOR REAR FASCIA
ALIGNMENT
1.
Raise sunshade louvre and engine cover.
2.
Remove attaching bolts to pontoons and
remove tail lights.
3. Pull back and secure rear fascia assembly to
gain access to quarter panel braces and
attaching bolts.
4.
Drill
VB"
holes in quarter panel flange to allow
installation of new screws to replace existing
screws in flange.
5. Trim quarter panel flange back to center of old
screw holes.
6. Notch fibre-glass reinforcement where quarter
panel bracket makes contact on both outer
ends.
 Loading...
