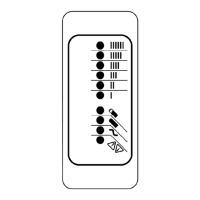
17
6.4 AC and DC Cabling Instructions
AC Cabling Installation Instructions
The IC650 Charger allows any country-specific
IEC320/C14 AC cable to be used with the charger’s
standard IEC-60320-C13 mating connector. This
allows an OEM to source AC cables depending on
demand in dierent countries.
For industrial applications where the AC cord may
be exposed to hard usage and moisture, Delta-Q
recommends that the cord is UL listed with an
SJTW (or SJT) rating, 105°C (221°F), 300 V rating (or
equivalent).
No tools are required for installation, although it is
recommended that cable ties be used to securely
fasten the AC cable to the charger.
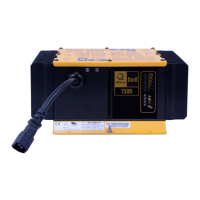
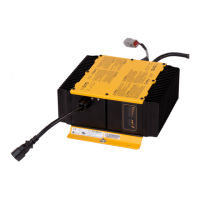
Figure 18. Both the DC and AC cabling has been
installed on this IC650 Charger. Using cable ties with
the AC cabling is recommended, as these cables may
be pulled out of the mating connector.
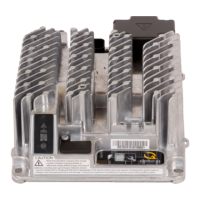
This section only applies to the Comm model
IC650 Charger. No tools are required to install
the TE Connectivity AmpSeal Plug assembly (Part
number 776273 into the Comm fixture on the
IC650 Charger. See the Communication section
for more information about communications
capabilities.
6.5 IC650 Communications Cabling Instructions
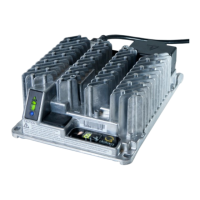
Figure 19. TE Connectivity AmpSeal Plug assembly
(Part no. 776273) for onboard communication
capabilities, including CAN bus and Modbus.
Figure 20. Insert the TE Connectivity AmpSeal Plug into
the Comm xture with the locking mechanism facing
toward the outer edge of the charger.
Plug locking
mechanism
Figure 21. Apply pressure until you hear an audible “click”
as the plug locks into position.
 Loading...