9
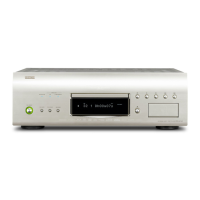
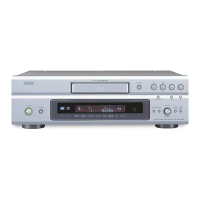
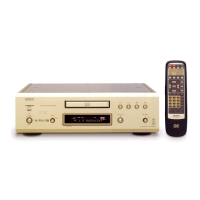
DVD-9000/DVD-A1
(d)
(c)
Loader
Bearing Plate
Plate Gear
Boss
Groove
(e)
Clamp Base
Main P.W.B. Ass'y
4. Assembly (1)
(1) Assembling Main P.W.B. Ass'y
Fix the Main P.W.B. Ass'y with 6 pcs of 3mm P-tight
screw (e).
(2) Removing Pickup-short Solder
After connecting 24P-FFC of the Pickup with P.W.B.,
remove solder from 2 shorted positions.
(3) Temporary Positioning Clamp Base
To protect your eyes from laser light, put the Clamp Base
temporarily.
(4) Positioning up Traverse Unit
Connect the following wires of the Mechanism Unit, and
operate it.
• CX141: 14P-PH wire for power
• CX131: 13P-FFC wire from Display P.W.B.
Turn on the power to the unit, and press "OPEN/CLOSE"
button to close the Loader.
The Traverse Unit rises up. (display: 0h00m00s)
Pull out the Loader forward, and lift up to take it out.
3. Installing Loader
(1) Inserting Loader
Set and push the Loader to the arrow direction until it
stops. When installing the Loader, move the Plate Gear
to right beforehand so as that the boss of the Plate Gear
fits in the backside groove of the Loader. (See figure right)
(2) Fixing Loader
Fix the Loader with each 2 screws (c) and (d).
 Loading...