62
detector is “on grade”. In the narrow setting, this tolerance is reduced for
more accurate indication of “on grade”.
For the most accurate results, start the work using the wide setting and
finish in the narrow setting.
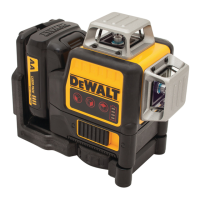
Magnets
The magnets (24) allow the detector to be mounted to the metal tracks
during the installation of a suspended ceiling.
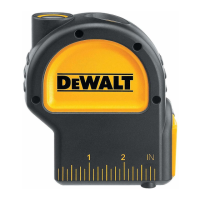
DETECTOR OPERATION (FIG. F)
1. Set up and position the laser.
2. Turn the detector on by pressing the power button (21).
3. Position the detector so that the sensor window (25) is facing the
laser beam. Move the detector up or down within the approximate
area of the beam, until you have centered the detector. For
information about the display window indicators and the audible
signal indicators, refer to the table titled Indicators.
INDICATORS
Above
Grade
Slightly Above
Grade
On
Grade
Slightly below
Grade
Below
Grade
audible
signals
fast
beep
fast
beep
steady
tone
slow
beep
slow
beep
display
icons
4. Use the marking notches (20) to accurately mark the position of the
laser beam.
MOUNTING ON A GRADE ROD (FIG. F, G)
1. To secure your detector to a grade rod, first attach the detector to the
clamp by pushing in on the clamp latch (26). Slide the tracks (27) on
ENGLISH
 Loading...