- 9 -
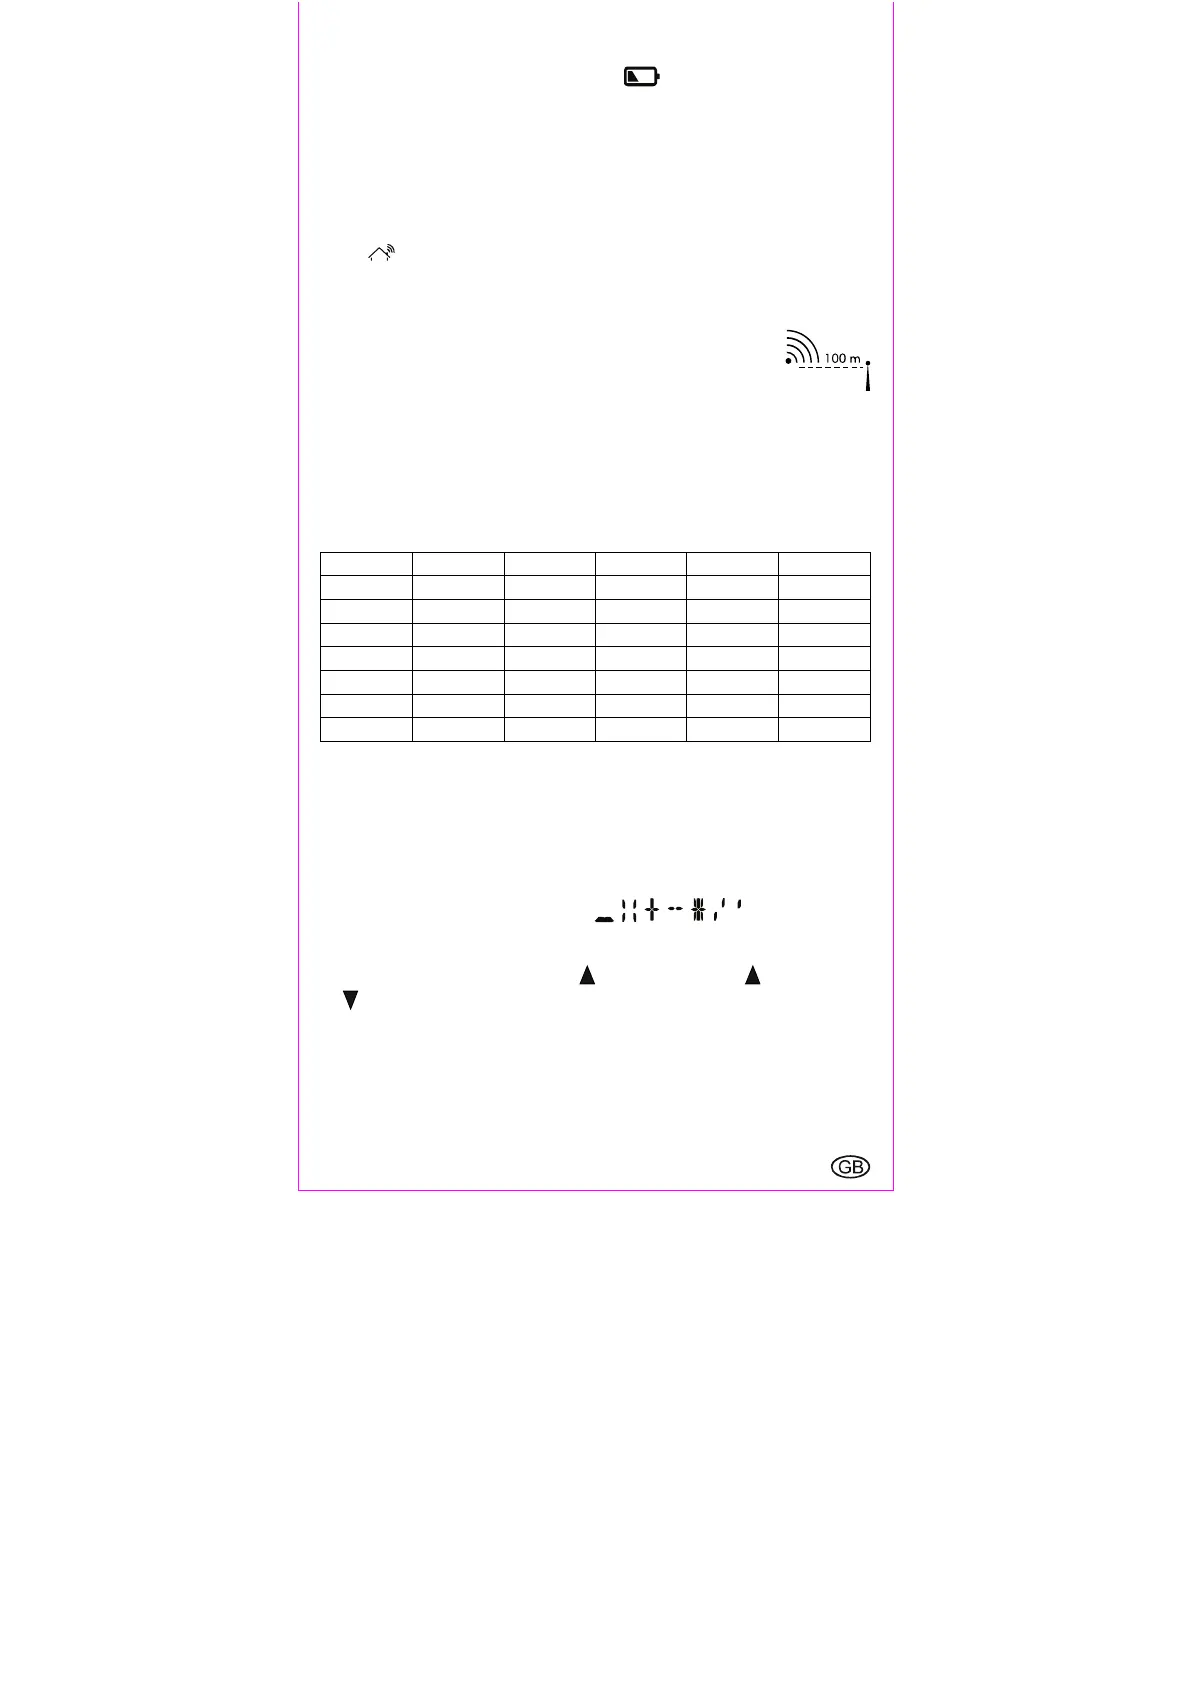
Battery level indicator
If the battery charge is too low to power the radio controlled weather station, the sensors
and data transmission, the battery level indicator 13 or 18 will appear on the
display. The batteries should be replaced in all devices as soon as possible. Restart the
weather station.
Channel setting for sensors 1-3
Your radio-controlled weather station can be used with up to 3 sensors at the same time.
Open the battery compartments of the sensors 41and set the channel (1, 2, 3) you wish
to use for each sensor using the channel selection switches 40. The radio-controlled
weather station will now receive the signals from the sensors 1-3 and the signal reception
symbol 17 will appear on the display of the radio-controlled weather station. To
manually transmit the measured data from the sensor to the radio-controlled weather
station, press the TX-button 43. Press the °C/°F button 42 to select the temperature unit
°C-Celsius and °F-Fahrenheit. Close the battery compartment 41.
! Note: The sensors must be set up within a maximum of 100m from the
weather station with no obstacles.
Naming the sensors
The sensors can be placed in different rooms or outdoors. It is possible to assign a name
to each sensor on the radio controlled weather station at 16. For example, a sensor
placed in the bathroom could be named BATH. When setting the names it is possible to
select one of the pre-set names: BATH, BEDRM, KID1, KID2, YARD. It is also possible to
enter custom names with up to 5 characters each.
Setting pre-set names
\ Room 1 Room 2 Room 3 Room 4 Room 5
DE
BAD BETT KIND1 KIND2 GARTN
GB
BATH BEDRM KID1 KID2 YARD
FR
BAIN SOMML ENF1 ENF2 JARDN
IT
BAGNO SONNO BAMB1 BAMB2 GIARD
ES
BANO DORMI NINO1 NINO2 JARDN
DK
BADEV SOEVN BARN1 BARN2 HAVE
SE
BADRM SOEMN BARN1 BARN2 TRADG
To select a name for sensor 1, press the 1-ROOM-button 30. Press the 1-ROOM-button
30 again to view the different pre-set names. If you wish to select one of the names, wait
for 5 seconds until the selected name no longer blinks. The name is now set. Select the
names for the other rooms in the same way.
Setting custom names
Custom names can also be set for the sensors. Up to 5 custom names can be set. When a
sixth name is set, the first stored name will by overwritten automatically. To set a custom
name, the letters A-Z, the special characters , , , , , , , and the numbers 0-
9 are available.
To set a custom name for Sensor 1, please proceed as follows: Press the 1-ROOM-
button 30 and then immediately press the up-button 25. Press the up-button 25 or
the down-button 26 to select a character. When the desired character appears, press
the 1-ROOM-button 30 to confirm your setting and move to the next character of 5
possible characters in the name. It is possible to delete characters by pressing the SET-
button 32. Once 5 characters have been entered the display will automatically return to
normal time display mode. If you have entered less than 5 characters, press the 1-
ROOM-button 30 2x to return to normal time display mode. Set the names for sensors 2
and 3 in the same way.
 Loading...