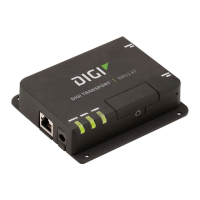
Quick Start Guide
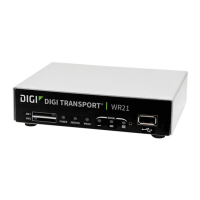
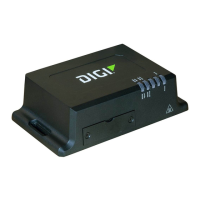
TransPort® WR31
Welcome to your Digi product
Get started: This guide helps you with initial produ ct setup. Need more? Find additional product
suppo rt at www.digi.com/support/TransPortWR31. Or connect to the online documentation by
scanning this code:
Digi Technical Support: Digi offers multiple support plans to help you get the most out of your
product. For info rmation on Technical Su ppor t plans and pricing, contact u s at 877.912.3444 or
visit www.digi.com/support.
Documentation Feedback: To provide f eedback on this do cumentation, send your comments to
techcomm@digi.com.
1 Verify your components
Included equipment Optional equipment Required additional equipment
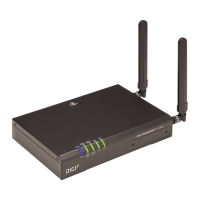
The TransPort WR31 can be mounted directly to a wall using the
WR31 Wall Mount Bracket (76000966). Advanced environmental
protection requires a cust omer specified NEMA enclosure.
Verify that you have all included equipment. If any item is missing or damaged, contact your supplier.
2 Connect the hardware
1. Using a Phillips-head s crewdriver, remove the SIM slo t cover from the under side of the un it.
2. Insert the SIM card(s) into the SIM sockets. SIM1 is near the middle of the unit, and SIM 2 is n ear
the outside of the unit. Inser t the chamfer ed end of the SIM card first.
3. Replace the SIM s lo t cover.
4. Connect the cellular antenna to the WWANPRI connector on the u nit. If the unit is equipped with a
secondary cellular antenna connector, connect it to the WWANSE C connector.
5. Connect one end of the Ethernet cable to the LAN 0 port on the unit and the other end to a LAN
por t o n a PC.
6. Connect the power supply. If usin g the o ptional power s upply:
a. Remove the pluggable connector from the unit, loosening the screws for the locking
flanges as needed.
b. Connect the wires of the power supply to the terminals, following the instructions on the
power s u pply.
c. Secure the terminal screws.
d. Reconnect the pluggable connector to the unit.
e. Secure the s crews on the locking flanges.
f. Connect the AC power to a power source.
For additional hardware installation options and instr uctions, see the TransPort User Guide online, at www.digi.com.
7. Mount the TransPort WR31 on a DIN rail, directly onto the wall, or in a NEMA enclosure.
Note Position the Digi TransPort WR31 via DIN rail mounting brackets, wall-mount, or rackmount, in a location with adequate ventilation. The
unit is designed for indoor use. Do not expose the unit to extreme heat or cold, strong magnetic fields, or liquids.
© 2017 Digi Int ernational Inc.
Digi, Digi International, and the Digi logo are trademarks or registered trademarks in the United States and other countries worldwide. All other trademarks mentioned in this
document are t he property of their respective owners.