• To avoid electrical shock and/or damage to the instrument, do not
attempt to take any voltage measurement that might exceed 1000VDC
or 750VAC RMS.
• To avoid electrical shock and/or damage to the instrument, do not apply
more than 1000VDC or 750VAC RMS between the common terminal and
the earth ground.
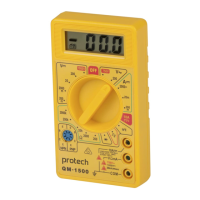
1. Set the rotary switch to the voltage position.
2. Insert the black test lead banana plug into the negative COM jack;
insert the red test lead banana plug into the positive V/Ω jack.
3. Touch the black test probe tip to the negative side of the circuit; touch
the red test probe tip to the positive side of circuit.
4. Read the voltage in the LCD display. The polarity of the red test lead
connection will be indicated when making DC Voltage measurement
eg. a reverse polarity reading will show as negative on the display.
NOTE: Unstable display may occur, especially at the low voltage range
measurement, even no test leads inset at input terminals, if an erroneous
reading is suspected, short the V jack and COM jack and make sure the
zero displayed at LCD.
CURRENT MEASUREMENT
WARNING:
• To avoid damage to the meter, check the internal fuse before measuring
current.
• Use the proper terminals, function and range for any current
measurement
• Never attempt an open circuit potential to earth that is greater than
250V.
• Do not place the test leads in parallel with a circuit or component when
the test leads are plugged into the current terminals.
1. Remove the power from the circuit you are testing and discharge the
capacitors of the circuit prior to setting the rotary switch to measure
current.
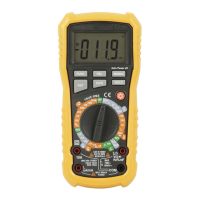
2. Insert black test lead banana plug into the negative COM jack. For
current measurement less than 200mA, insert the red test lead banana
plug into the mA jack. For current measurement between 200mA to
10A insert the red test lead banana plug into 10A jack.
3. Place the red test lead on the anode of the diode and the black test
lead on the cathode of diode. The meter will show the approximate
forward voltage of diode while reverse voltage will indicate OL.
4. Touch the test probe tips to the circuit or wire you wish to check, and
the maximum value of resistance will be shown in the display. If the
resistance is less than 100Ω, the audible signal will sound.
 Loading...