We’re committed to bringing you the best in video entertainment every day. Your replacement
Genie
®
Mini is enclosed. Here’s how to connect and activate it, plus how to return your non-working
equipment.
To avoid non-return fees, follow important return instructions at the end of this document.
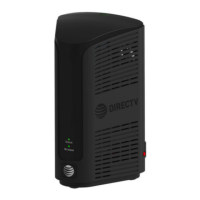
1 CONNECT YOUR REPLACEMENT GENIE MINI
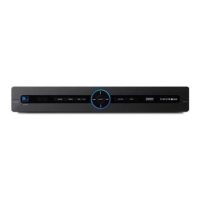
· Carefully stack your replacement Genie Mini on top of your non-working Genie Mini.
· Transfer one connection at a time from the non-working Genie Mini to the replacement
Genie Mini, except for the power cord. Need help? Go to directv.com/equipmentinstall
· Plug the power cord into the replacement Genie Mini, then into a power outlet. If the receiver
doesn’t automatically power up, press the POWER button.
· Turn on your TV.
2 RESET YOUR REMOTE
· On the remote, press and hold MUTE and SELECT.
· The GREEN LED will blink twice.
· Press 9-8-7 on your remote.
· The GREEN LED will blink four times if successful.
3 SETUP
· Select REPLACE A LOCATION, choose the Client you want to remove and select REPLACE.
· Select YES, REPLACE to confirm your choice.
Note: The new Genie Mini may display a flashing red LED and the screen may flash gray
intermittently during this setup step.
1
Connect
2
Reset
3
Setup
4
Activate
5
Program
6
Return
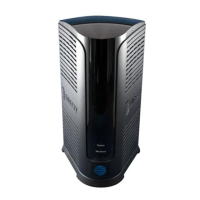
Genie Mini with Genie Mini 2
Q
ACTIVATION & EQUIPMENT
RETURN INSTRUCTIONS
(Continued on back)
Replace a Location
Select whether you would like to add a new location or replace an
existing location.
Create a New Location
Add a New Location
Replace a Location
Instructions can be found online at
directv.com/equipmentinstall or
by scanning the QR code.
Remote
Reset
2
10-pin single
end connects
to the receiver
HDMI
HDMI
Black component
Gray component
Colored cable ends
connect to the TV
1
NETWORK
DOLBY
DIGITALIMAX
Genie Mini
3