8
EN
Installation
e
w
q
7 Installing the New Floor Flange
q
Screws
e
Outlet hole
w
New floor flange
3. Place the new floor flange into the outlet
hole and secure it to the floor with a
minimum of four screws (eight are preferred).
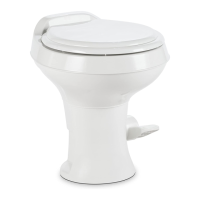
3.3 Installing the New Toilet
Follow these steps to install your new toilet:
q
EE
EE
8 Inserting the T-bolts
q
Floor flange
1. Insert the new floor mounting T-bolts (EE)
into the slots in the floor flange.
AA
FF
9 Installing the Floor Flange Seal (FF)
2. Install the new floor flange seal (FF) to the
base of the toilet (AA). On some models, it is
already installed.
3. Carefully position the toilet (AA) over the
floor flange.
AA
EE
BB
CC
DD
w
q
10 Securing the New Toilet
q
Floor Flange
w
Water Supply Line
4. Align the holes in the toilet base with the
floor mounting T-bolts (EE) as you lower the
toilet (AA) onto the floor flange.
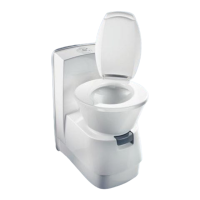
Gravity-Flush Toilet
 Loading...