14
EN
Service Procedures Refrigerators
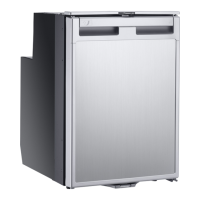
7.4 Replacing the Door Assembly
and Hinges
8 Replacing the Door Assembly and Hinges
1. Complete the steps on page 13 to remove the
vent cover and mechanism.
2. Remove the three screws securing the top hinge to
the unit and remove the hinge.
3. Pull the door upwards to remove it from the bottom
hinge.
I
At this point, perform these steps in reverse order
to install the new door assembly, or proceed with
the following steps to replace the hinges.
4. Rest the refrigerator on its back side so that the
bottom hinge can be accessed.
5. Remove the three screws securing the bottom hinge
to the unit.
6. Complete these steps in reverse to install the new
hinges and/or door assembly.
I
Do not over-tighten the screws during installation.
Refer to the Adjusting the Door section to adjust the
door, if required.
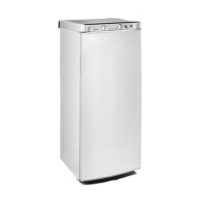
7.5 Adjusting the Door
9 Adjusting the Door
I
Before adjustment begins, set the vent mechanism
to the "normal" position (no marking).
1. Verify that the gasket is not rolled over on the hinge
side of the door upon closing. If the gasket is rolled
over when the door is closed, complete the following
steps:
– Loosen the top and bottom hinge screws (refer
to the Replacing the Door Assembly and Hinges
section for details).
– Pull the door away from the hinges, keeping the
door parallel with the side of the refrigerator and
evenly spaced with the front of the unit.
– Tighten the screws (do not over-tighten).
– Ensure that the door closes properly with minimal
effort. The door should latch and the gasket
should be flat against the front of the unit when
the door hinge is properly set.
2. With the door closed and latched, attempt to pull it
open (without using the door handle) to verify that it
only opens 1/16 – 3/16 in. (2 – 5 mm). If the gap falls
outside of this range, complete the following steps to
adjust the upper and lower latches.
– Remove the vent cover and adjust the upper latch,
as needed, to achieve a gap that falls within the
specified range.

 Loading...