Installing and connecting the refrigerator CRX PRO 0050T, CRX PRO 0065T
16
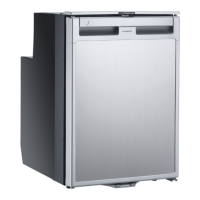
6.2 Control elements
7 Installing and connecting the
refrigerator
7.1 Notes on installing the refrigerator
Observe the following when installing the refrigerator:
• Install the refrigerator so that the warm air produced can easily flow away
(fig. 4, page 5).
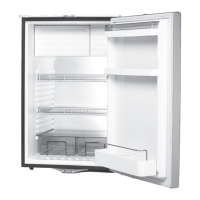
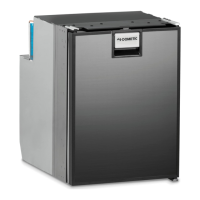
5 Crisper compartment
6 Bottle restraint
(to hold bottles in the door)
No. in
fig. 3, page 4
Explanation
1 IR sensor for switching the interior light
2 LED Service display
3 LED Blue: Compressor is running
LED Orange: Compressor is off
4 On/off button
5 Inner lighting
6 Temperature selection button
7 LED: Fast cooling function on
8 LEDs: Temperature levels
No. Explanation
DometicCRXPRO0050T-CRXPRO0065T_IOM_4445103471_AMER3(en-fr-es)_202x-xx-xx.book Seite 16 Mittwoch, 28. Juli 2021 9:54 09
 Loading...