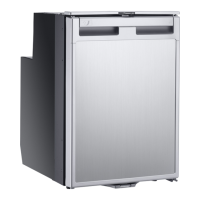
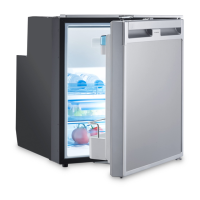
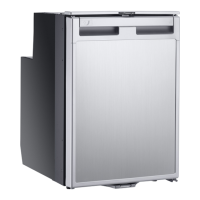
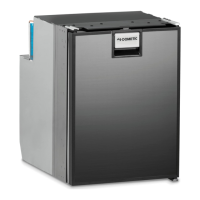
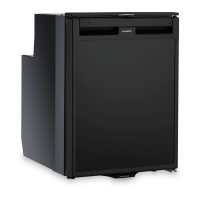
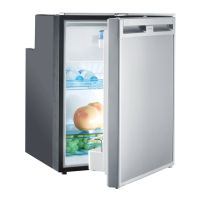
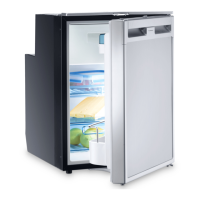
CRX Installing and connecting the refrigerator
21
• Condensate is produced when the refrigerator is operating normally. You can
either wipe up the condensate on the floor of the refrigerator in regular intervals,
or drain it through a water drain outlet in the floor of the refrigerator (see chapter
“Mounting the water drain outlet (optional)” on page 21).
7.3 Mounting the water drain outlet (optional)
➤ Connect a hose with an inside diameter of 10 mm (not included) to the water
drain outlet.
➤ Lay the refrigerator on its side in order to access the bottom side.
➤ Mount the water drain outlet (fig. 9 2, page 7) aligned to the front or to the
back according to the desired direction.
➤ Remove the water drain plug (fig. 9 1, page 7) inside the refrigerator.
7.4 Installing the refrigerator
Proceed as follows to install the refrigerator:
➤ If you wish to drain the condensate through a hose:
Mount the water drain port (see chapter “Mounting the water drain outlet
(optional)” on page 21)
➤ Undo the transport lock (chapter “Releasing the lock” on page 27).
➤ Open the refrigerator door.
➤ Remove the blanking plugs (fig. 0 2, page 7).
➤ Push the refrigerator into the recess.
➤ Fix the refrigerator in place using suitable screws (fig. 0 1, page 7).
➤ Press the blanking plugs (fig. 0 2, page 7) into the openings.
7.5 Changing the door hinge
You can also change the hinge of the door, so that it opens to the left rather than the
right.
➤ Proceed as shown in fig. a, page 8 to fig. c, page 8, to change the hinges.
CRX50-65-80-110-140-IO-US.book Seite 21 Dienstag, 3. Juli 2018 1:22 13
 Loading...