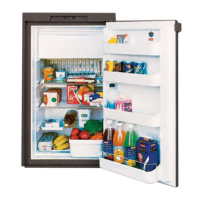
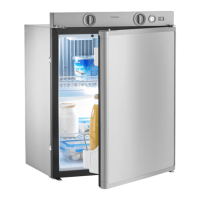
RM10.5(S)(T), RMS10.5(X)(S)(T) Intended use
25
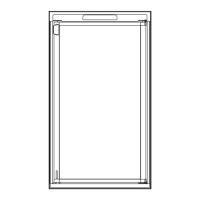
4.6 Install the roof vent
1. Seal the installation frame to make the connection waterproof (fig. g, page 10).
2. Insert the installation frame and screw it down tightly (fig. h, page 11). Use all
the fixing holes for this.
3. Insert the hood and screw it down tightly (fig. i , page 11).
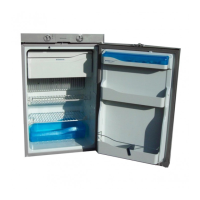
4.7 Securing the refrigerator
!
I
1. Move the refrigerator into its final location.
2. Fasten the screws (fig. j 1, page 11) through the plastic jacket in the sides of
the refrigerator, and further into the wall.
3. Put the caps (fig. j 2, page 11) onto the screw heads.
No. in
fig. f, page 10
Description
1 Hood
2 Installation frame
CAUTION!
Only screw through the receptacles provided, otherwise foamed com-
ponents, such as cables, can be damaged.
NOTE
Attach the side walls or the attached strips so that the screws are tight,
even when under increased loads (while driving).
DometicRM S10_INM_4445103083_EMEA18_20xx-xx-xx.book Page 25 Wednesday, April 5, 2023 3:52 PM
 Loading...