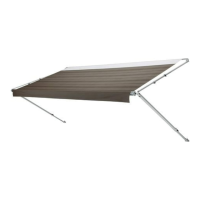
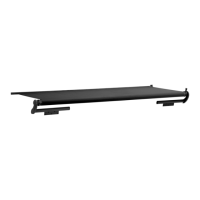
FIG. 6
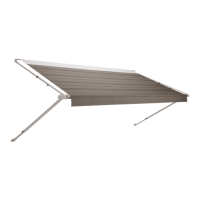
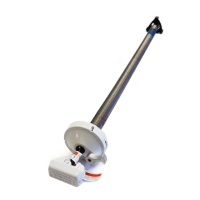
FIG. 7
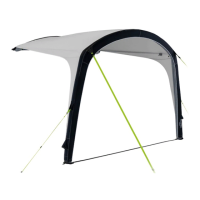
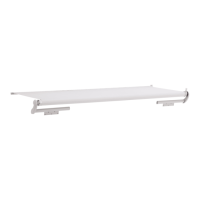
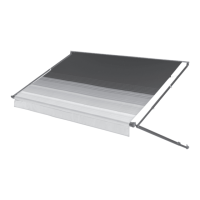
FIG. 8
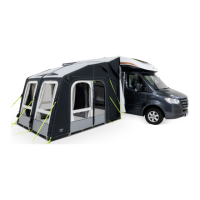
FIG. 9
6. Slide pull strap to the right hand end of the roller
tube and wrap around arm. See FIG. 6.
7. While holding arm, pull up on lift handle to release
and lift awning to desired height. Release handle
and allow lock button to engage into a hole in adjust-
able arm. Repeat on opposite end. See FIG. 7.
8. To place the awning in the carport position, press the
release lever on the bottom mounting bracket and
pull the arm away. Move to a vertical position, and
secure in place with stakes. Raise to desired height.
Repeat on opposite end. See FIG. 8.
Important: Never leave the roller tube level with the
awning rail, adjust both arms of the Universal Hardware
7 to 8 adjustable arm holes below awning rail (fabric
slope approximately 10 degrees). Sunchaser hardware
should be in the water shed position. See FIG. 9. If light
rains are expected, place the awning in the water shed
position. See FIG. 9.
Note: Universal hardware is designed with a water dump
feature that will lower one side of the awning to allow wa-
ter to run off. Before the water dump feature will operate
as designed, lower both arms 7 to 8 holes (fabric slope
approximate 10 degrees) lower than the other arm before
it is in the water dump conguration. See FIG. 9.
Important: If the 8485000 hardware is used with a
tension rafter the water dump feature is disabled. The
awning must be placed in the dump position the same
as the 8275000 hardware.
Note: Sunchaser Model Series 8275000 hardware is not
equipped with the water dump feature and one arm must
be an additional 7-8 holes (fabric slope approximately 10
degrees) lower than the other arm before it is in the water
dump conguration. See FIG. 9.
Note: Never leave an open awning unattended.
A TO OPEN AWNING continued
Wrap Pull Strap Around
Right Arm Assembly
Pull Up On
Handle To
Release Lock
Button, Lower
Handle to
Engage Button
Lower Arm Away From
Door 7-8 Additional Holes
4
SUNCHASER, 8500 AND 9000 AWNING USER GUIDE
 Loading...