142780-00 | 03/184
DETERMINE HOLDDOWN ARM MOUNTING LOCATION
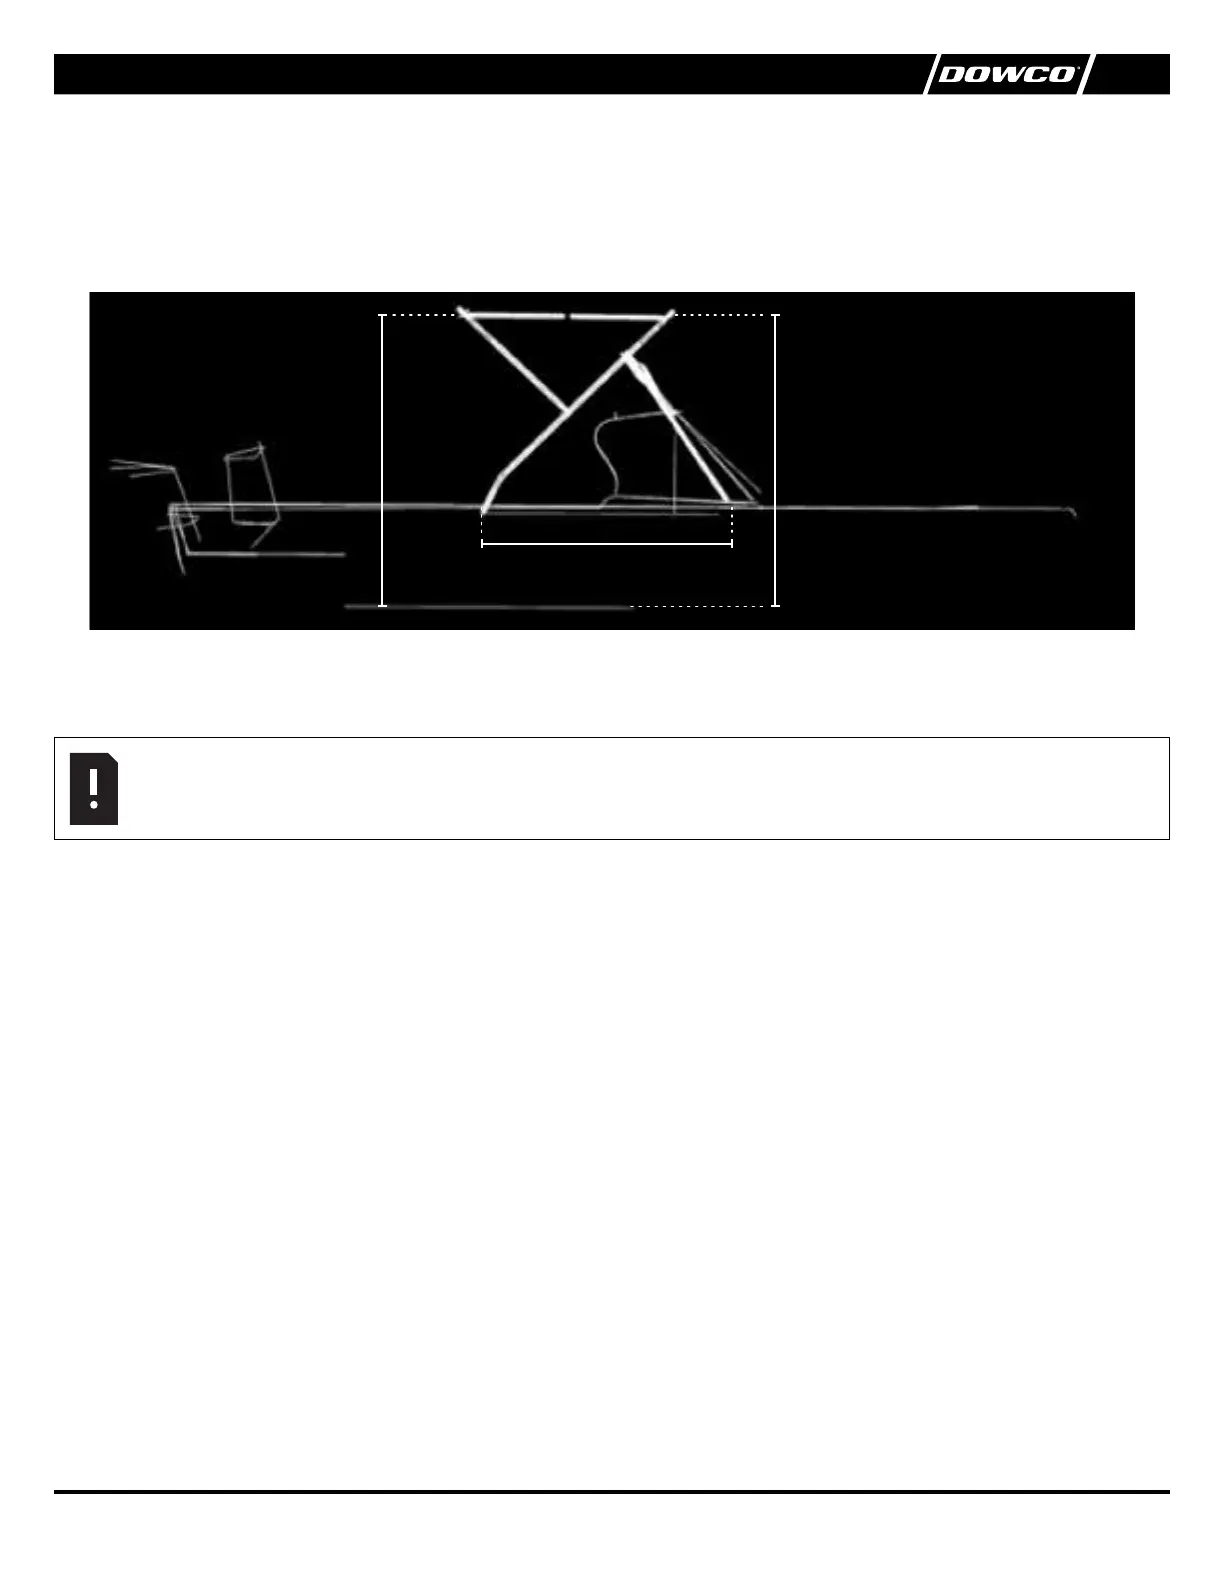
Now that the main bow mounts have been installed, we will need to connect the main bow of the frame to the mounts and deploy the top. Our goal
is to position the top so that it is either level or pitched forward slightly to allow for water run-off. The dimensions shown below are for reference only
and may not match your desired dimensions.
STEP 1
Apply tape to the top of the gunnel 55-65" forward of the main bow mount. The hold-down arms will be mounted on top of the gunnel and
NOT inside-mounted like the main bow mount.
STEP 2
Use the hold-down arms to position the fishini top so it is either level or pitched forward slightly.
STEP 3
Mark the location of the hold-down arm hinge on the tape using the marker. It is important to make sure that the hold-down arm will not
interfere with opening or closing your windshield
The hold-down arm hinge mounting locations should be the same for both the port and starboard sides.
WHEN USING THE 1/4"20 HARDWARE:
STEP 1
Use the drill and the 9/32 drill bit to drill the hole in the marked location on the tape. Drill through the tape. If drilling through fiberglass,
reverse drill until you get through the gel coat, make sure to countersink the hole aerward. This will prevent the gel coat from cracking
when installing the deck buttons.
STEP 2
Remove the tape.
STEP 3
Apply silicone to surface of black washer that will contact the boat. This will help seal the hole so that water cannot penetrate
(recommended, but not required).
▷ ▷
DRILLING HOLES FOR HOLDDOWN ARM HARDWARE MOUNT
Once the hold-down arm mounting location has been marked, it is time to drill. Prior to drilling, it will be important to determine your mounting
hardware. It is preferred that you use the ¼-20 bolt, nut, and washer to mount the deck button. However, you may not have access to the inside of
your gunnel. If you do not have access, you will use the #14 screw. WARNING - CHECK FOR WIRES, CABLES, HOSES, PRIOR TO DRILLING.
NOTE
EXCEPT FOR LUND, CRESTLINER, OR TRACKER
55 - 65 INCHES
75 INCHES75 INCHES
 Loading...